A rough idle is a common issue in 1994 Corvettes. While there can be various causes, faulty Oxygen (O2) sensors are often the culprit. This article details the process of diagnosing and replacing O2 sensors on a ’94 Corvette, addressing a common problem for this model year.
Diagnosing a Rough Idle in a ’94 Corvette
A ’94 Corvette with a rough idle might have issues with its electronic fuel injection system. Using a code scanner to check the Powertrain Control Module (PCM) and sensor inputs is a good starting point. Often, no error codes will be present even with failing O2 sensors. However, inaccurate readings from these sensors can disrupt the entire fuel control loop, leading to a rough idle. While O2 sensors are designed to last 100,000 miles, many experts recommend replacing them between 30,000 and 50,000 miles due to performance degradation. Factors like age and exposure to silicone or silica-based compounds can significantly shorten their lifespan.
Understanding O2 Sensors in a ’94 Corvette
The 1994 Corvette, being an OBDI (On-Board Diagnostics I) system, has two O2 sensors located upstream of the catalytic converters. These sensors play a crucial role in determining the correct fuel mixture. Later OBDII systems utilize a downstream sensor after the catalytic converter for emissions monitoring, but these don’t affect fuel mixture and are less likely to contribute to rough idling. Therefore, focusing on the pre-cat O2 sensors is key to resolving the rough idle issue in a ’94 Corvette.
Replacing O2 Sensors on a ’94 Corvette: A Step-by-Step Guide
Replacing O2 sensors on a ’94 Corvette can be challenging due to the car’s compact engine bay. Here’s a detailed guide:
Tools Required:
- 3/8″ Breaker Bar
- Assorted 3/8″ Extensions
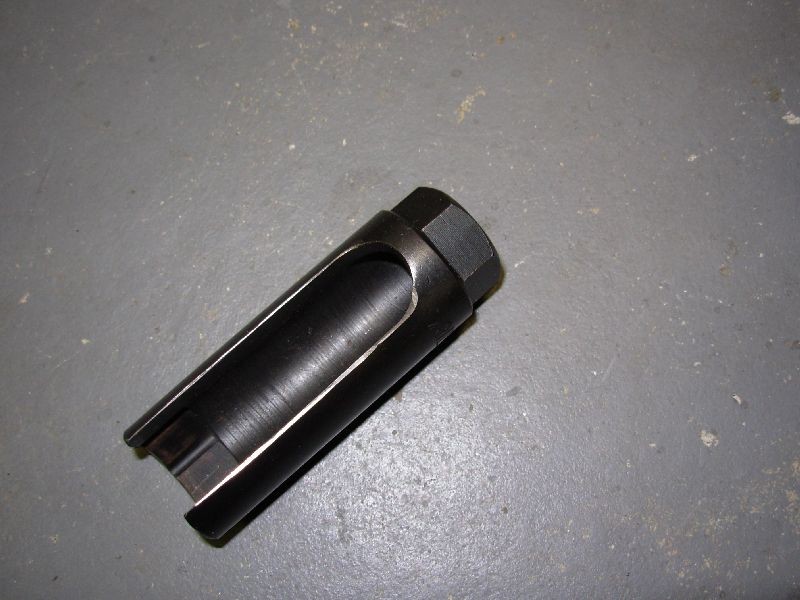
- 7/8″ O2 Sensor Socket or Offset Wrench
- Floor Jack and Two Jack Stands
An O2 sensor socket with a cutout for wires is essential.
Procedure:
- Accessing the Sensors: Raise and secure the vehicle using a floor jack and jack stands. The O2 sensors are accessed from underneath the car.
Safety first: Always use jack stands when working under a vehicle.
- Disconnecting and Removing: Disconnect the sensor’s electrical connector. Use the O2 sensor socket or offset wrench to loosen and remove the old sensor. A breaker bar may be required due to corrosion. The driver’s side sensor is generally more accessible with a socket, while the passenger side may require an offset wrench due to the starter’s proximity.
An offset wrench might be necessary for the passenger-side sensor.
- Installing New Sensors: Apply anti-seize compound to the threads of the new sensors (ensure it’s O2 sensor safe). Thread the new sensors in by hand, then tighten with the socket or wrench. Avoid overtightening. Reconnect the electrical connectors.
Apply anti-seize compound to the threads of the new sensor.
- Repeat for the Other Side: Follow the same procedure for the other O2 sensor.
The passenger-side sensor presents a tighter working space.
Conclusion
Replacing O2 sensors on a ’94 Corvette, while challenging, is a manageable DIY task that can resolve rough idle issues and improve overall engine performance. Using the correct tools and following the steps outlined above can ensure a successful repair. This process addresses a specific problem common in ’94 Corvettes, offering a valuable solution for owners experiencing similar issues.