Car key fobs, also known as remote car keys or electronic keys, are indispensable for modern vehicle owners. They offer convenient control over your car’s doors, alarm system, trunk, and even ignition from a distance. Like any electronic device, car remotes can sometimes experience signal loss or malfunction over time. Fortunately, in many cases, you can reprogram a replacement car remote yourself, potentially saving time and money compared to visiting a dealership or auto locksmith. This guide will walk you through the general steps on How To Program A Replacement Car Remote, empowering you to regain control of your vehicle’s remote functions.
While the process of programming a car remote can often be done at home, it’s crucial to understand that specific procedures can vary significantly depending on your car’s make, model, and year. Therefore, before you begin, it is highly recommended to consult your vehicle’s owner’s manual. This manual often contains detailed, manufacturer-specific instructions for car remote programming. If your manual is not readily available, a quick online search for “[Your Car Make] [Your Car Model] key fob programming instructions” can often yield helpful resources and even video tutorials.
Despite the variations, a general method exists that works for many vehicles. Here are the basic steps to get you started on programming your replacement car remote.
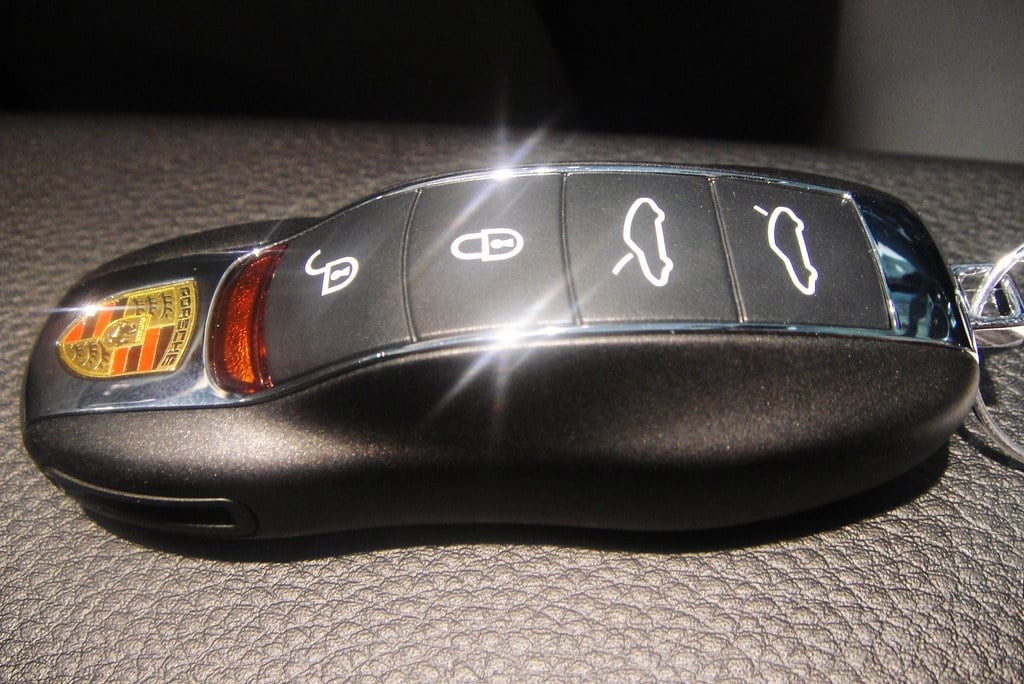 Porsche Key Fob
Step 1: Get Ready and Turn the Ignition On
Begin by sitting in the driver’s seat of your car. Ensure all doors are completely closed. Have your ignition key and the replacement car remote readily accessible. Insert your car key into the ignition. Turn the key to the “On” position. This is the position just before you would crank the engine to start the car. You should see the dashboard lights illuminate, indicating the electrical system is active, but the engine should not be running.
Step 2: Initiate the Programming Sequence by Pressing the Lock Button
Once the ignition is in the “On” position, take your replacement car remote and aim it towards the car’s receiver. The receiver’s location can vary but is often near the rearview mirror or on the steering column. Press and hold the “Lock” button on the car remote for a few seconds. Some vehicles may require pressing other buttons or a combination of buttons, so again, consulting your manual is beneficial.
Step 3: Turn the Ignition Off and Check for Lock Response
After holding the “Lock” button for the specified duration (usually a couple of seconds), quickly turn the ignition key back to the “Off” position. Remove the key from the ignition. At this point, the car’s system should be attempting to recognize and learn the new remote signal. Listen carefully for a sound, such as the car door locks clicking or a beep. This auditory cue often indicates that the programming sequence has been successfully initiated and the car has recognized the new remote.
Step 4: Repeat the Process for Additional Remotes Immediately
If you have multiple replacement car remotes to program, it’s crucial to repeat steps 2 and 3 immediately for each additional remote, without delay. Many car security systems are designed to clear the memory of previously programmed remotes when a new one is being added. This means if you only program one remote and then try to program another later, the first one might no longer work. Therefore, program all your replacement remotes in one continuous sequence.
Step 5: Final Test and Verify Remote Functionality
After programming all desired remotes, re-insert your ignition key and turn the car to the “On” position again (without starting the engine). Now, test each programmed remote individually. Press the “Lock” button on each remote. You should hear the car locks engage for each successfully programmed remote, confirming that the process was successful. Test all the buttons on each remote (lock, unlock, trunk, panic) to ensure full functionality.
In conclusion, while this step-by-step guide provides a general approach on how to program a replacement car remote, remember that the precise method can vary depending on your vehicle’s manufacturer and model. Always prioritize consulting your owner’s manual for the most accurate and vehicle-specific instructions. If you encounter difficulties or are unsure about any step, consider seeking assistance from a qualified auto locksmith or your car dealership to ensure proper and safe remote programming.