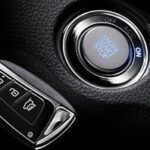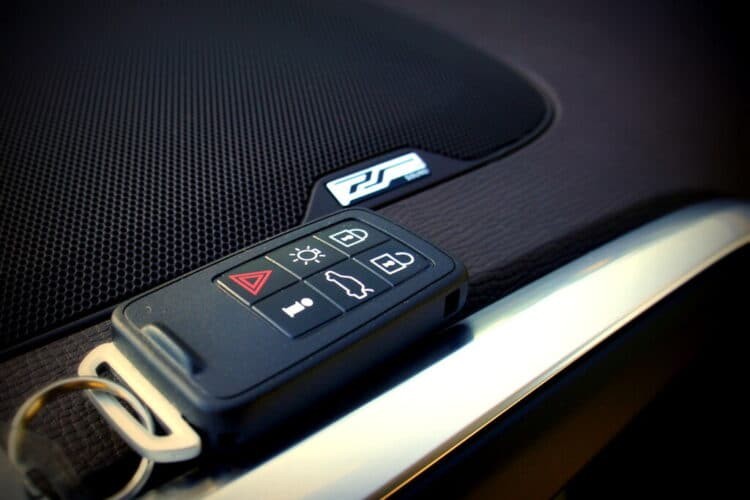
Car remote keys, often called key fobs, are incredibly convenient for modern vehicle owners. They allow you to lock and unlock doors, activate alarms, open trunks, and even start your car from a distance. However, like any electronic device, car remotes can sometimes lose their programming or need replacement. Instead of rushing to a dealership or locksmith immediately, you might be able to program a new remote yourself. This guide will walk you through the general steps on How To Program A New Remote To Your Car, potentially saving you time and money.
Why Reprogram Your Car Remote?
Before diving into the “how-to,” it’s important to understand why you might need to program a new remote to your car in the first place. There are a few common reasons:
- Lost or Damaged Remote: If you’ve lost your original remote or it’s become damaged beyond repair, you’ll need a replacement. New remotes need to be programmed to communicate with your car’s security system.
- New Remote Purchase: Maybe you bought a used car that only came with one remote, or perhaps you simply want a spare. A new, unprogrammed remote won’t work until it’s synced to your vehicle.
- Malfunctioning Remote: Sometimes, a remote might stop working correctly due to signal issues or internal electronic glitches. Reprogramming can occasionally resolve these issues.
Programming a new remote yourself can be a cost-effective alternative to professional services. While some situations might require a locksmith or dealership, many car models allow for DIY remote programming.
General Steps to Program a Car Remote
Keep in mind that the exact procedure to program a new remote to your car can vary significantly depending on the make, model, and year of your vehicle. Always consult your car’s owner’s manual for the most accurate and specific instructions. The steps below are a general guideline and may not work for all vehicles.
Step 1: Prepare and Get Inside Your Vehicle
Begin by sitting in the driver’s seat of your car. Ensure all doors are completely closed. You’ll need your new, unprogrammed remote and, typically, your ignition key. Having your owner’s manual handy at this stage is highly recommended.
Step 2: Ignition Cycle and Button Pressing
This step usually involves a sequence of turning the ignition key in the ignition switch without actually starting the engine. The process often involves turning the key from the “OFF” position to the “ON” position (where the dashboard lights up) and back to “OFF” multiple times in a specific rhythm.
After or during this ignition cycling, you’ll typically need to press and hold buttons on your new remote. Commonly, this is the “lock” or “unlock” button. You may need to aim the remote towards the car’s dashboard or a specific sensor location, which might be near the rearview mirror or steering column.
Listen for any car responses like door locks cycling or a beep. These sounds can indicate that your car has entered programming mode.
Step 3: Testing the Remote
After completing the ignition and button pressing sequence, try using the buttons on your newly programmed remote. Press the lock and unlock buttons to see if the car doors respond. If the doors lock and unlock as expected, congratulations! You’ve successfully programmed your new remote.
Step 4: Programming Additional Remotes
If you have multiple remotes to program (for example, a new one and reprogramming your old ones), you often need to program them all in one session. Many car systems will clear the memory of previously programmed remotes when a new one is added. Therefore, repeat the programming process immediately for each additional remote you want to use. Do this quickly, as there might be a time limit to complete the programming sequence.
Step 5: Consult Your Owner’s Manual (Crucial Step!)
We cannot stress enough the importance of your car’s owner’s manual. The general steps provided here are just that – general. Your manual will have the precise, manufacturer-recommended steps for programming a new remote to your specific car. Look for sections on “remote programming,” “key fob programming,” or “keyless entry.” Following the manual will drastically increase your chances of success and prevent accidental issues.
Important Considerations and Troubleshooting
- Vehicle Specific Procedures: As highlighted, programming methods vary widely. Some cars require dealer-specific tools or diagnostic equipment, while others have straightforward on-board programming procedures.
- Programming Mode Time Limits: Car systems often have a limited time window to enter and complete the programming sequence. If you take too long between steps, the process might fail, and you’ll need to start again.
- Remote Compatibility: Ensure the new remote you purchased is compatible with your car’s make, model, and year. Using an incorrect remote will not work, no matter how many times you try to program it.
- When DIY Fails: If you’ve carefully followed your owner’s manual instructions and still can’t program the remote, it might be time to seek professional help. A qualified locksmith or your car dealership will have the tools and expertise to program remotes, even for more complex systems.
In conclusion, learning how to program a new remote to your car can be a useful skill for any car owner. By understanding the general process and, most importantly, consulting your vehicle’s owner’s manual, you can often program a new remote yourself, saving both time and money. However, always be prepared to seek professional assistance if the DIY approach doesn’t work for your specific vehicle.