Key fobs have become an indispensable part of modern car ownership, offering convenience and security at our fingertips. These small electronic devices, also known as remote car keys, allow us to lock and unlock doors, activate alarms, open trunks, and even start our vehicles from a distance. However, like any electronic device, key fobs can sometimes lose their programming due to battery issues, signal interference, or simply over time. When this happens, you might find yourself locked out or unable to start your car remotely. Fortunately, reprogramming your key fob is often a straightforward process that you can perform yourself, saving you the cost and inconvenience of a trip to the dealership or an auto locksmith.
This guide provides a detailed walkthrough on how to program a fob for your car. While the general principles remain similar across different makes and models, it’s crucial to remember that specific steps can vary. Always consult your vehicle’s owner’s manual for the most accurate and manufacturer-recommended procedure for your particular car.
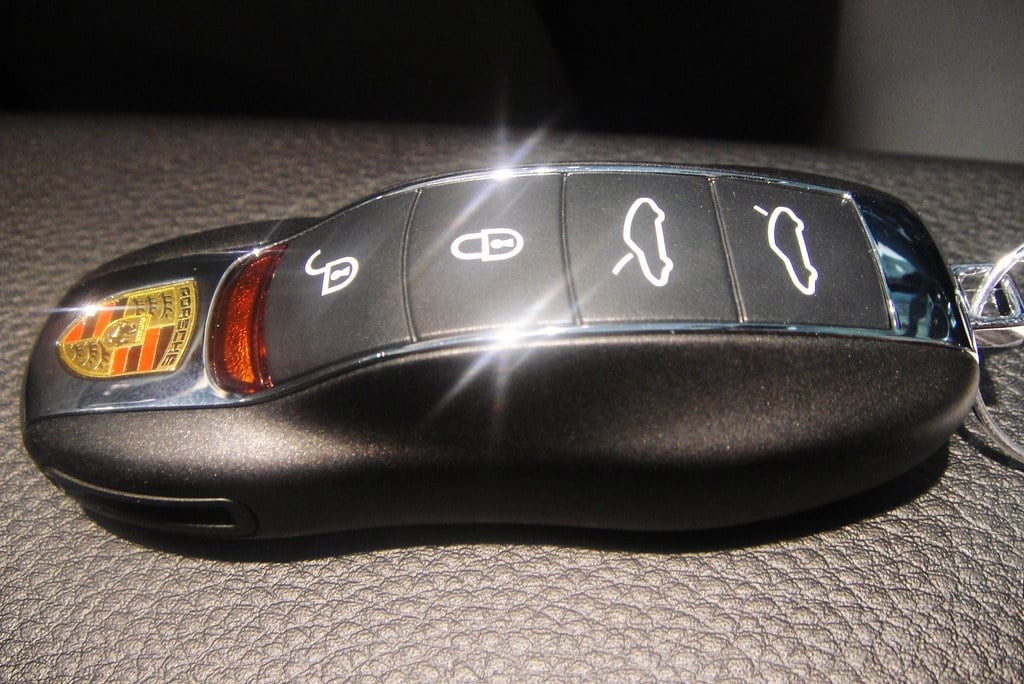 Key fob programing
Step 1: Prepare for Programming – Get in and Turn the Ignition
Before you begin, ensure you have all the necessary components ready. This includes your car, the key fob you wish to program, and your ignition key. Sit in the driver’s seat and close all doors completely. This is important as open doors can sometimes interrupt the programming sequence.
Insert your ignition key into the ignition switch. Turn the key to the “ON” position. This is the position just before you would crank the engine to start. You should see the dashboard lights illuminate, indicating that the car’s electrical system is active. Do not start the engine. The key needs to be in the “ON” position only.
Step 2: Initiate Programming Mode – Press the Lock Button
With the ignition in the “ON” position, take your key fob and aim it towards the dashboard. The original article mentions aiming at the “transmission receiver in the front of the car above the mirror.” While the receiver location can vary slightly, generally pointing the fob towards the dashboard area is effective.
Press and hold the “Lock” button on your key fob for a few seconds. The duration can vary, but typically holding it for 1 to 3 seconds is sufficient. This action is intended to send a signal to your car’s receiver and initiate the programming sequence.
Step 3: Cycle the Ignition – Turn Off and On Quickly
This step involves a quick cycle of the ignition. Immediately after pressing the “Lock” button on your fob, turn the ignition key from the “ON” position to the “OFF” position. Then, quickly turn it back to the “ON” position. The speed of this cycle is important. You are essentially trying to reset or trigger the car’s computer to recognize the new key fob signal.
Some car models might require you to cycle the ignition more than once. If the initial attempt doesn’t work, you may need to repeat this ignition cycling process two or three times. Again, your owner’s manual will provide the exact number of cycles if required for your specific vehicle.
Step 4: Program Additional Fobs – Repeat Immediately
If you have multiple key fobs that need programming, it’s crucial to program them all in one go. Many car systems will erase the memory of previously programmed fobs when a new one is being programmed. This means if you only program one fob now, your other fobs might stop working.
Immediately after cycling the ignition for the first fob, and while the car is still in programming mode, repeat steps 2 and 3 for any additional key fobs you have. Work quickly and efficiently, minimizing the time between programming each fob. This rapid succession ensures that all your fobs are recognized and programmed during the same programming session.
Step 5: Test the Programming – Confirm Successful Setup
Once you have programmed all your key fobs, it’s time to test if the process was successful. Turn the ignition key to the “OFF” position and remove the key. Close the car door.
Now, take each key fob and test its functions. Press the “Lock” button, “Unlock” button, “Trunk” button, and “Alarm” (if applicable) to see if they are working correctly. A successful programming will typically be indicated by the car doors locking and unlocking, the trunk opening, and the alarm activating/deactivating in response to the fob button presses. You might also hear an audible chirp or see the car lights flash to confirm the commands.
If a fob is not working, re-check your owner’s manual for specific instructions and repeat the entire programming process carefully, paying close attention to the timing and sequence of steps. If you continue to experience difficulties, it may be necessary to consult a qualified mechanic or an auto locksmith for assistance.
Understanding Key Fob Programming Variations
It’s essential to reiterate that the method described above is a general guideline and may not be applicable to every car model. Car manufacturers employ different programming procedures, and some vehicles might require specialized equipment or diagnostic tools to program key fobs.
For instance, some newer vehicles may require a scan tool to enter a programming mode, while others might have an “on-board programming” procedure that involves pressing a sequence of buttons on the dashboard or using the vehicle’s information display system. Luxury car brands, in particular, often have more complex programming protocols.
Always prioritize consulting your vehicle’s owner’s manual. It is the most reliable source of information for the specific key fob programming procedure for your car. You can usually find your owner’s manual in your glove compartment or search for a digital version online on the manufacturer’s website.
By following these steps and consulting your vehicle’s manual, you can often successfully program your car’s key fob and regain the convenience and security it provides.