Having a push-to-start car offers great convenience, especially with its accompanying smart key remote. However, it can be frustrating when your remote stops working, potentially locking you out of your vehicle or preventing you from starting it. If you’re facing issues with your car remote or have acquired a replacement, reprogramming it might be the solution. While some models require professional locksmith programming, many push-to-start remotes can be programmed at home using a simple DIY process. Let’s explore how.
Before diving into reprogramming, it’s wise to rule out the simplest cause of remote malfunction: dead batteries.
Step 1: Enter Your Vehicle
Begin by getting inside your car and settling into the driver’s seat, ensuring you have your key fob with you. Once you’re in, close the driver’s side door completely. This is necessary to initiate the programming sequence.
Step 2: Locate the Programming Button
Vehicles equipped with push-to-start systems often include a programming button to facilitate remote pairing. This button is usually located within a compartment referred to as the “transmitter” compartment. The location of this compartment can differ depending on your car’s make and model, but common places include the driver’s side door panel or inside the center armrest console. Inside this compartment, you should find a button explicitly labeled “program” or something similar. This is the button that establishes the communication between your key fob and your vehicle’s system. If you are unable to locate this button, consult your vehicle’s owner’s manual for the precise location and identification. Once found, press this programming button to start the pairing process.
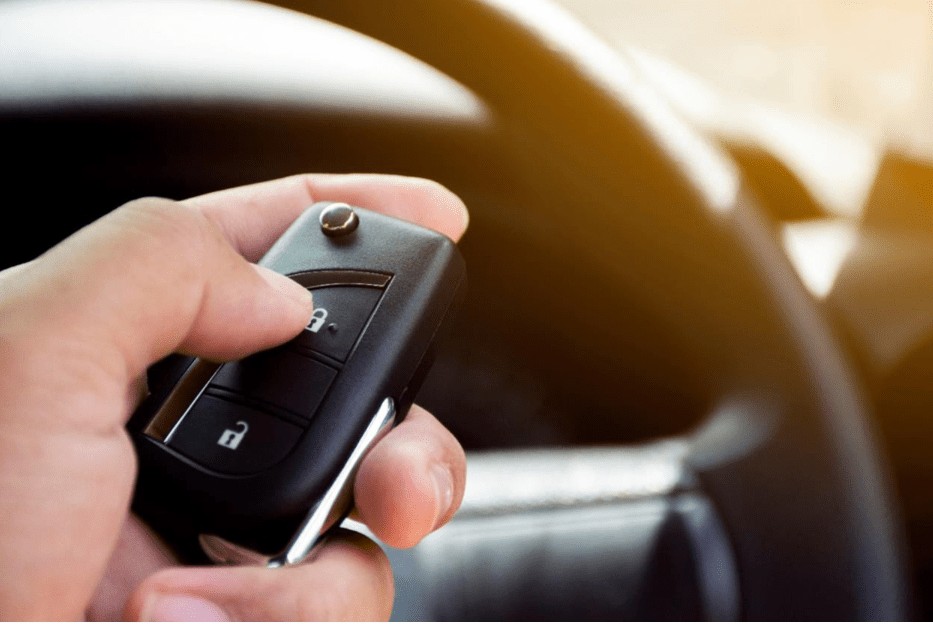 Vehicle Program Button Location
Step 3: Press and Hold Any Button on Your Key Fob
With the program button pressed and held down, take your smart key remote and press and hold any button on it. Continue holding both buttons simultaneously. You’ll need to maintain this pressure until a connection is successfully established. This connection is usually indicated by a visual cue from your vehicle, such as the door locks flashing or a light illuminating on the dashboard. This step typically requires holding the buttons for approximately three seconds or possibly longer.
Step 4: Release the Key Fob Button
Once you observe the visual confirmation indicating a connection, you can release the button you were holding on the key fob. A steady light, often on the dashboard or around the door locks, should appear to signify that the remote has been successfully programmed. It’s important to note that this confirmation might not be instantaneous; it could take a few seconds for the steady light to appear, so be patient.
Step 5: Test Your Key Fob
After completing the programming steps, it’s crucial to test whether the process was successful. Attempt to lock and unlock your car doors using the newly programmed key fob. If your vehicle is equipped with remote start functionality, test this feature as well. If you find that the key fob is still not functioning correctly, it may indicate an issue beyond simple programming. In such cases, you might need to consider purchasing a replacement smart key remote. Car and Truck Remotes offers a wide selection of replacement remotes, often at prices significantly lower than dealership costs. Alternatively, if DIY programming isn’t working, you can find a qualified locksmith in your area who can professionally program your remote. You can also reach out to Car and Truck Remotes directly for further assistance or to explore locksmith services.