Car remote controls, often called key fobs, are indispensable for modern vehicle owners. They offer convenient access to your car, from locking and unlocking doors to activating the alarm system and even starting the engine remotely. However, like any electronic device, car remotes can sometimes lose their programming or malfunction. When this happens, the good news is you can often reprogram your car remote yourself, saving time and money on dealership or locksmith fees. This comprehensive guide will walk you through the general steps of How To Program A Car Remote Control, empowering you to regain control of your vehicle’s remote functions.
Before you begin, it’s crucial to understand that while many vehicles follow similar programming procedures, specific steps can vary significantly depending on the car’s make, model, and year. Always consult your vehicle’s owner’s manual for the most accurate and manufacturer-recommended instructions for programming your car remote. This guide provides a general overview and a common method that works for many vehicles, but your manual is the ultimate authority for your specific car.
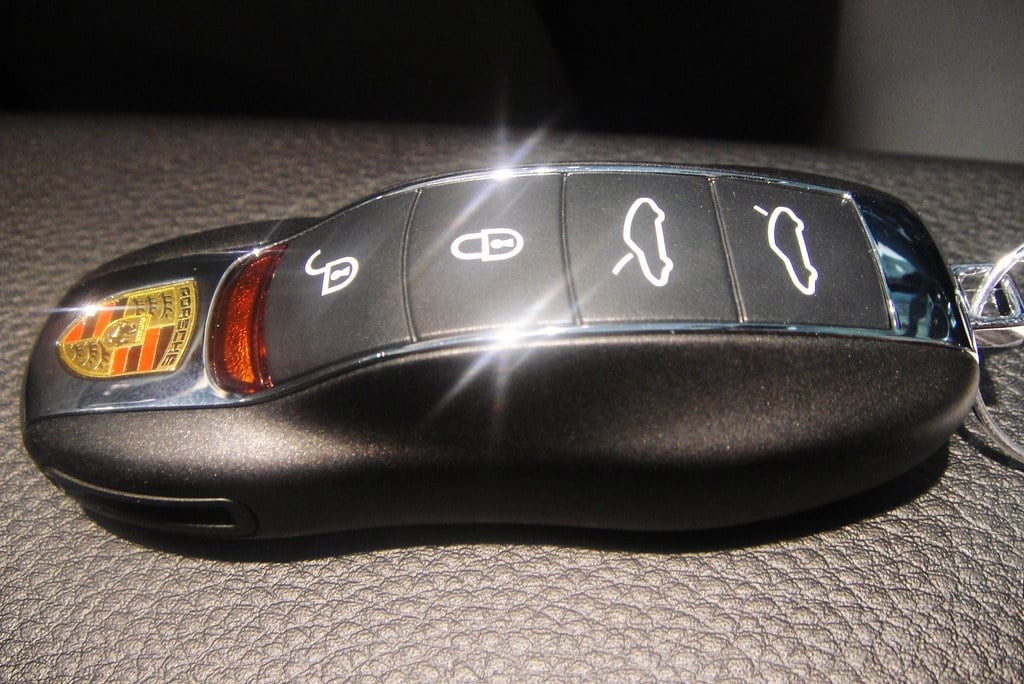 Car remote programming process
Step-by-Step Guide to Program Your Car Remote Control
This section outlines a common method for programming a car remote control. Remember to always prioritize the specific instructions in your vehicle’s owner’s manual.
Step 1: Prepare for Programming – Get Ready in the Driver’s Seat
Begin by positioning yourself in the driver’s seat of your car. Ensure all doors are completely closed. Have both your ignition key and the car remote you wish to program readily available. It’s also a good idea to have any additional remotes you want to program on hand, as you may need to program all of them during this session to ensure they all function correctly.
Step 2: Initiate Programming Mode – Turning the Ignition and Pressing the Lock Button
Insert your ignition key into the ignition switch. Turn the key to the “ON” position. This is the position just before you would crank the engine to start. Do not start the engine. Once the ignition is in the “ON” position, locate the lock button on your car remote. Aim the remote towards the front of the car, typically in the direction of the rearview mirror where the receiver is often located. Press and hold the “lock” button on the remote for a few seconds.
Step 3: Complete the Programming Sequence – Turning Off the Ignition and Repeating
After pressing the lock button for a few seconds, quickly turn the ignition key back to the “OFF” position. Remove the key from the ignition. At this point, the car’s system should be in programming mode. Immediately press the “lock” button again on the same remote you were just programming. If you have additional remotes to program, repeat this process for each of them in quick succession. Many car systems are designed to program all remotes at once during a single programming cycle. Speed is key here; avoid pausing for extended periods between steps to prevent the system from exiting programming mode.
Step 4: Test Your Remotes – Confirming Successful Programming
After you have completed the programming steps for all your remotes, test each one to ensure they are working correctly. Press the lock and unlock buttons on each remote to verify that they are communicating with your car and activating the door locks. You should hear the car locks engage and disengage, indicating successful programming. If a remote does not work, you may need to repeat the entire programming process, paying close attention to the timing and steps.
Important Tips and Troubleshooting for Car Remote Programming
While the steps outlined above are generally applicable, here are some additional tips and troubleshooting advice to help you successfully program your car remote:
- Consult Your Owner’s Manual: We cannot stress this enough. Your vehicle’s manual is the definitive guide for your specific car. Look for the section on “Remote Key Programming” or “Key Fob Programming.”
- Battery Check: Ensure the batteries in your car remote are fresh and have sufficient charge. Weak batteries can sometimes prevent successful programming.
- Programming Mode Time Limits: Car systems often have a limited time window for programming mode. If you take too long between steps, the system may exit programming mode, and you’ll need to start over.
- Proximity to Vehicle: Make sure you are within close range of your vehicle during the programming process, as the remote needs to communicate with the car’s receiver.
- Seek Professional Assistance: If you are unable to program your remote after several attempts, or if your owner’s manual indicates a more complex procedure, it may be best to consult a qualified auto locksmith or your car dealership. They have specialized tools and knowledge to handle more intricate programming needs.
Conclusion: Regain Control with a Programmed Car Remote
Programming your car remote control can often be a straightforward process you can accomplish at home. By following these general steps and, most importantly, consulting your vehicle’s owner’s manual, you can save yourself the expense and inconvenience of dealership programming fees. Take your time, follow the instructions carefully, and you’ll likely be back to enjoying the convenience of your car remote in no time. However, remember that for certain makes and models, or if you encounter persistent difficulties, professional help from a locksmith or dealer is always available to ensure your car remote is correctly programmed and functioning reliably.
