Car remote controls, often called key fobs, are indispensable for modern vehicle owners. They offer convenient access to your car, enabling you to lock and unlock doors, activate alarms, open the trunk, and even start your car remotely. However, these electronic devices can sometimes lose their programming due to battery issues or system glitches. When this happens, knowing how to reprogram your car remote control can save you time and money compared to visiting a dealership or auto locksmith. This guide will walk you through the general steps to reprogram a new car remote control, ensuring you regain seamless access to your vehicle.
It’s crucial to understand that while many vehicles follow similar programming procedures, specific steps can vary significantly depending on your car’s make, model, and year. Always consult your vehicle’s owner’s manual for the most accurate and manufacturer-recommended instructions for your specific car. This manual is your best resource for detailed, model-specific programming information.
Here are the general steps to program a new car remote control:
Step 1: Vehicle Preparation and Initial Steps
Begin by sitting in the driver’s seat of your car. Ensure all doors are completely closed. Have both your ignition key and the new car remote control you intend to program readily available.
Next, insert your ignition key into the ignition switch. Turn the key to the “ON” position. This position is usually right before you would crank the engine to start. Do not start the engine. Just turn the ignition to the point where the car’s electrical systems are active.
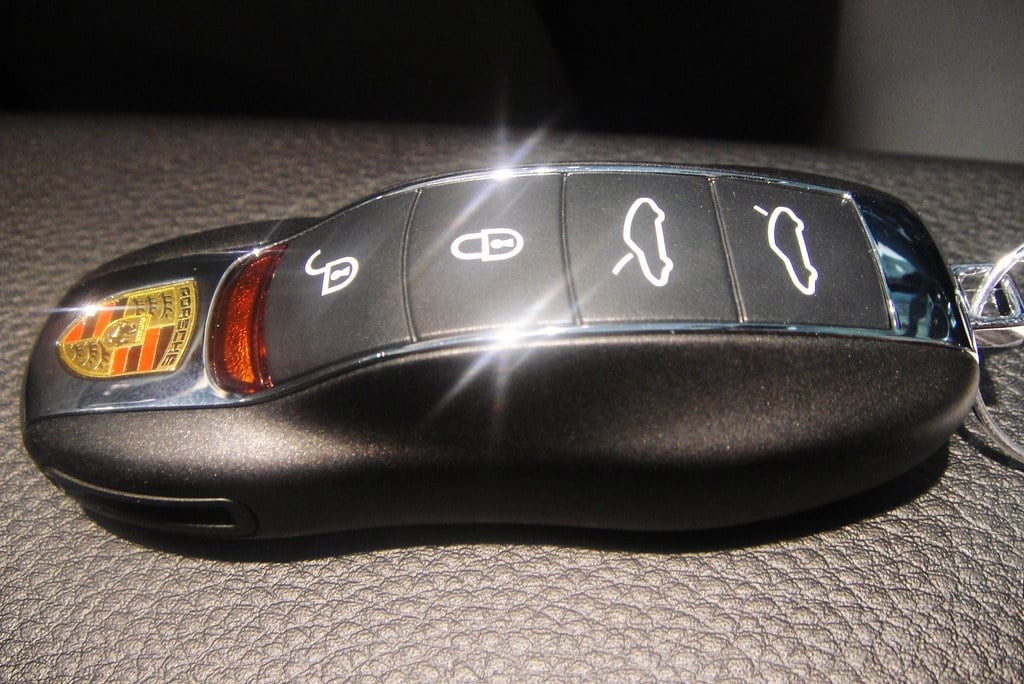 Programming a car remote control – a close-up of a Porsche key fob during the programming process.
Step 2: Initiate the Programming Sequence
Once the ignition is in the “ON” position, locate the lock button on your new car remote control. Aim the remote control towards the car’s dashboard, specifically near the rearview mirror area. This is where the vehicle’s receiver for the remote control signals is typically located.
Press and hold the “lock” button on the remote control for a few seconds. Some vehicles might require you to press and hold other buttons or a combination of buttons. Again, your owner’s manual is the definitive guide for your car’s specific procedure.
Step 3: Cycle the Ignition and Activate Programming Mode
After pressing the lock button, quickly turn the ignition key back to the “OFF” position. Remove the key from the ignition switch immediately. This action is intended to signal to the car’s computer that you are initiating a remote control programming sequence.
Timing is often critical in this step. You may need to perform these steps—turning the ignition ON, pressing the remote button, and turning the ignition OFF—in rapid succession for the car to enter programming mode. Listen for any audible cues from your car, such as a chime or the sound of the door locks engaging and disengaging, which might indicate that the system has entered programming mode.
Step 4: Program Additional Remotes (If Necessary)
If you have multiple car remote controls to program, this is the time to do so. Many car systems are designed to clear the memory of previously programmed remotes when a new one is programmed. This means you need to program all your remotes in one programming session.
Repeat the process described in Step 2 and Step 3 for each additional remote you wish to program. Work quickly between remotes to ensure the car remains in programming mode.
Step 5: Test the Newly Programmed Remote(s)
After you have completed the programming steps for all your remotes, it’s essential to test them. Insert the ignition key and turn the car to the “ON” position again (without starting the engine).
Press the “lock” button on each of your newly programmed remote controls. If the programming was successful, you should hear the car door locks engage and disengage in response to each remote. Test all the buttons on each remote, including “unlock,” “trunk release,” and “panic” (if applicable), to ensure full functionality.
If the door locks respond correctly to each remote, congratulations! You have successfully programmed your new car remote control(s). If the remotes do not respond, you may need to repeat the entire process, carefully following the steps in your owner’s manual, or consider seeking assistance from a professional.
Important Considerations and Troubleshooting Tips:
- Battery Condition: Ensure the batteries in your new car remote control are fresh and properly installed. Weak batteries can prevent successful programming.
- Specific Procedures: Always prioritize the programming instructions in your vehicle’s owner’s manual. The steps outlined here are general and might not be precisely accurate for your specific car.
- Timing Sensitivity: Reprogramming sequences can be time-sensitive. Perform the steps quickly and without hesitation.
- Programming Mode Confirmation: Listen for any car sounds (chimes, lock cycling) that indicate successful entry into programming mode.
- Professional Assistance: If you encounter difficulties or are unsure about any step, don’t hesitate to contact a certified auto locksmith or your car dealership for professional programming services. They have specialized equipment and expertise to handle car remote programming for all makes and models.
By following these steps and consulting your owner’s manual, you can often successfully program a new car remote control yourself, saving time and money while ensuring you maintain convenient access to your vehicle’s features.