Car remote openers, commonly known as key fobs, are indispensable for modern vehicle owners. They offer convenient access to your car, enabling you to lock and unlock doors, activate the alarm system, and even start the engine remotely. Like any electronic device, key fobs can sometimes lose their programming or malfunction. Fortunately, in many cases, you can reprogram your car remote opener yourself, saving time and money on dealership or locksmith services. This guide will provide you with a detailed understanding of how to program your car remote opener, ensuring you regain seamless access to your vehicle.
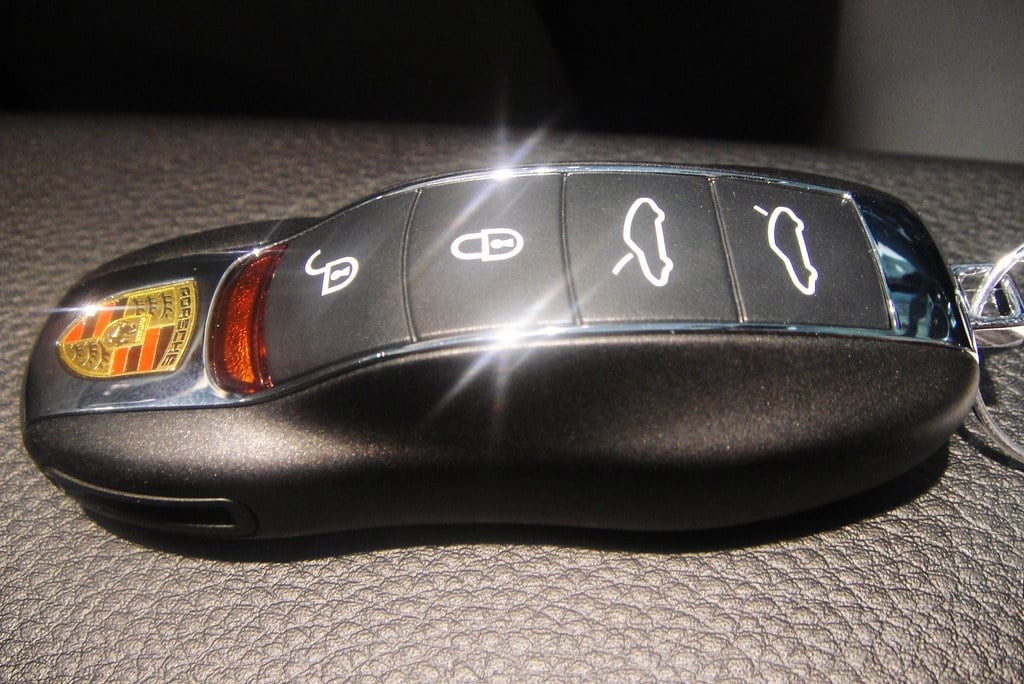 Programming a car key fob
Understanding the Basics of Car Remote Programming
Before diving into the programming steps, it’s crucial to understand that the process can vary significantly depending on your car’s make, model, and year. While some vehicles offer straightforward onboard programming procedures that you can perform yourself, others might require specialized equipment or a visit to a qualified locksmith or dealership.
The most common method for programming a car remote opener involves an onboard process that utilizes your vehicle’s ignition system and buttons. This method typically doesn’t require any extra tools and can be completed in a few simple steps. However, for newer or more sophisticated vehicles, programming might necessitate the use of an OBD-II (On-Board Diagnostics II) port and specialized programming tools, often handled by professionals.
Step-by-Step Guide to Onboard Car Remote Programming
This section outlines the general steps for programming a car remote opener using the onboard method. Always consult your vehicle’s owner’s manual for the most accurate and specific instructions for your car model.
Step 1: Prepare for Programming
- Gather Your Materials: Ensure you have your car keys (including the ignition key and the new remote fob you want to program) and your vehicle’s owner’s manual. The manual is your most valuable resource for specific programming steps and any model-specific instructions.
- Enter Your Vehicle: Get inside your car and close all doors. This is important as the programming process often relies on door lock mechanisms and sensor inputs.
- Locate the Ignition: Familiarize yourself with the ignition switch. You’ll need to insert and turn the key to specific positions during the programming sequence.
Step 2: Initiate Programming Mode
The method to enter programming mode differs between car manufacturers and models. Common techniques include:
- Ignition Cycling: Insert the ignition key into the ignition switch and turn it to the “ON” position (without starting the engine) and then back to “OFF” in a specific sequence and timing. This might involve repeating the ON-OFF cycle several times (e.g., turn the key to ‘ON’ and back to ‘OFF’ five times rapidly).
- Door Lock Manipulation: Some vehicles require you to cycle the power door locks using the electric lock/unlock buttons on the door panel in combination with ignition key cycling.
- Press and Hold Method: Certain models require pressing and holding a specific button (like the lock or unlock button on the door or the remote) while turning the ignition key.
Refer to your owner’s manual to identify the exact sequence required to enter the programming mode for your specific vehicle. You may hear a chime, see a light flash on the dashboard, or feel the door locks cycle to indicate that the vehicle has entered programming mode.
Step 3: Program the Remote Opener
Once your car is in programming mode, you typically need to:
- Press a Button on the Remote: Press and hold the “LOCK” or “UNLOCK” button on the remote opener you want to program.
- Listen for Confirmation: The car should respond with a confirmation signal, such as a chime, a flash of the parking lights, or the door locks cycling again. This indicates that the car has recognized and stored the signal from the remote.
Step 4: Repeat for Additional Remotes
If you have multiple remote openers to program, repeat Step 3 for each remote immediately after successfully programming the first one. Many car systems will exit programming mode after a short period of inactivity, so it’s important to program all remotes you have in one session. Often, the system will clear previously programmed remotes when a new one is added, so programming all remotes at once is essential.
Step 5: Test the Remotes
After programming all your remotes, exit programming mode (usually by turning the ignition off and removing the key). Test each remote opener to ensure it is working correctly. Try locking and unlocking the doors, activating the panic alarm, and, if applicable, remote starting the engine.
Troubleshooting Common Programming Issues
If you encounter difficulties programming your car remote opener, consider these troubleshooting tips:
- Verify the Battery: Ensure the battery in your remote opener is new and properly installed. A weak battery can prevent the remote from transmitting a strong enough signal for programming.
- Double-Check the Owner’s Manual: Carefully reread your vehicle’s owner’s manual to confirm you are following the exact programming steps for your specific make and model. Small variations in the procedure can make a big difference.
- Timing is Crucial: Programming sequences often require precise timing. Make sure you are performing the steps quickly and within the specified timeframes mentioned in your manual.
- Check for Malfunctions: If you’ve tried multiple times and the remote still won’t program, there might be an issue with the remote itself or the car’s receiver system. Try a different remote if available, or consult a professional.
When to Seek Professional Help
While many car remote openers can be programmed at home, there are situations where professional assistance is necessary:
- No Owner’s Manual: If you don’t have your owner’s manual and cannot find reliable programming instructions online, a locksmith or dealership can provide the correct procedure.
- OBD-II Programming Required: For newer or high-end vehicles that require OBD-II programming, you’ll need specialized tools and expertise. Auto locksmiths and dealerships typically have this equipment.
- Persistent Programming Failure: If you’ve diligently followed the instructions and troubleshooting steps but still cannot program your remote, there might be an underlying issue with your car’s security system or remote receiver. A professional can diagnose and resolve these problems.
- Key Fob Replacement and Cutting: If you need a completely new key fob (not just reprogramming an existing one), especially one that includes a physical key blade, you may need a locksmith or dealership to cut the key and program the transponder chip within the key for starting the engine.
Conclusion
Programming your car remote opener can often be a straightforward DIY task, saving you time and money. By understanding the general steps, consulting your owner’s manual, and troubleshooting common issues, you can regain control over your vehicle’s remote access system. However, remember that for complex systems or persistent problems, professional help from a qualified locksmith or dealership is readily available to ensure your car remote opener is programmed correctly and securely.