Car remote keys, or key fobs, have become indispensable for modern vehicles. They offer convenient control over your car’s locking system, alarm, and even ignition from a distance. However, these electronic devices can sometimes lose their programming due to signal issues or battery changes. Fortunately, in many cases, you can reprogram your car’s remote key yourself without needing to visit a dealership or call an expensive locksmith. This guide will walk you through the general steps on how to program a remote key for your car, empowering you to regain control quickly and efficiently.
It’s crucial to understand that while the following steps provide a general approach, the exact procedure can vary significantly between car manufacturers and models. Therefore, before you begin, always consult your vehicle’s owner’s manual. This manual is your most reliable resource for specific instructions tailored to your car. You can usually find a physical copy in your glove compartment or access a digital version on the manufacturer’s website. Searching online for “[your car make and model] key fob programming instructions” can also yield helpful model-specific guides.
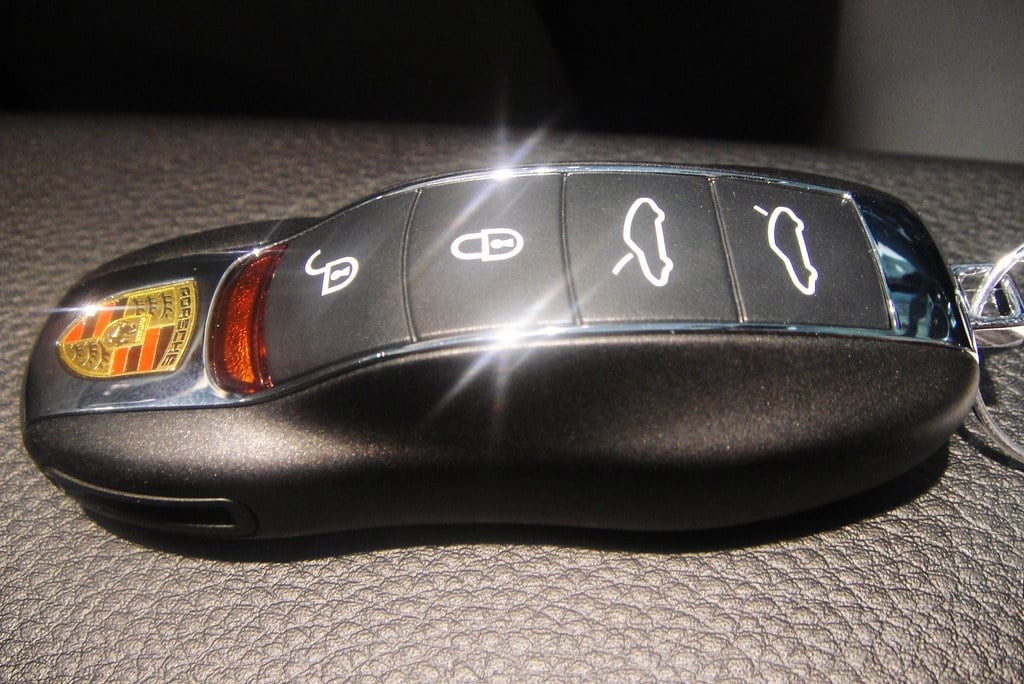 Programming a Porsche car remote key. Learn how to program your car's remote key fob with our step-by-step guide.
Step 1: Prepare and Enter Programming Mode
Begin by sitting in the driver’s seat of your car, ensuring all doors are completely closed. Have both your ignition key and the remote key fob you wish to program ready. The first step usually involves turning your car’s ignition to the “ON” position. This means turning the key in the ignition without actually starting the engine – you should see the dashboard lights illuminate. The specific sequence for entering programming mode can differ; some cars require you to cycle the ignition between “ON” and “OFF” a certain number of times within a specific timeframe. Again, your owner’s manual is essential for these precise instructions.
Step 2: Initiate the Programming Sequence with the Lock Button
Once you believe you’ve entered programming mode (some cars might give an audible signal or a flashing light to confirm), take your remote key fob and press the “lock” button. It’s generally recommended to point the remote key towards the car’s receiver, which is often located in the front of the car, near the rearview mirror. Hold the lock button for a few seconds. This action sends a signal to the car’s computer, attempting to synchronize the remote key.
Step 3: Turn Off the Ignition and Finalize Programming
After pressing the lock button, quickly turn the ignition key back to the “OFF” position, effectively shutting down the car’s electrical system (without starting the engine). In many cases, the car’s system will reset the command signals at this point. Timing is often critical in this step. Ensure you press the lock button and turn off the ignition relatively quickly to maintain the programming sequence.
Step 4: Program Additional Remote Keys Immediately
If you have multiple remote keys to program, it’s crucial to repeat the previous steps for each remote immediately after programming the first one. Many car systems are designed to erase the programming of all existing remotes when a new one is programmed for security reasons. This means if you only program one remote and then stop, other remotes might no longer work. Therefore, program all your remote keys in one continuous sequence. Repeat the ignition cycle and lock button press for each additional remote, without significant delays between each key.
Step 5: Test the Remote Key Programming
Finally, after programming all your desired remote keys, exit programming mode (usually by simply turning the ignition off completely and removing the key). Now, test each remote key to ensure successful programming. Step back from your car and press the “lock” or “unlock” button on each remote. You should hear the car locks engage or disengage, confirming that the remote key has been successfully programmed. If a remote doesn’t work, double-check the steps in your owner’s manual and try the programming sequence again, paying close attention to timing and specific instructions for your car model.
In conclusion, while reprogramming your car remote key can seem daunting, it’s often a straightforward process you can accomplish at home. Remember to always prioritize consulting your vehicle’s owner’s manual for model-specific instructions. By following these general steps and your manual’s guidance, you can effectively program your car’s remote key and regain the convenience and security it provides.