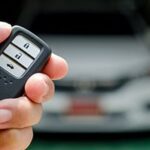
Remote starters offer unparalleled convenience, especially during harsh weather, allowing you to pre-heat or pre-cool your car before you even step inside. However, like any electronic device, remote car starters can sometimes lose their programming or require reprogramming after battery changes or system glitches. If you’re facing issues with your remote starter, you might be relieved to know that in many cases, you can reprogram it yourself. This guide, created by the experts at carcodereader.store, will walk you through the process of how to program a remote starter on your car, ensuring you can get back to enjoying the comfort and convenience it provides.
Understanding Remote Starter Programming
Before diving into the steps, it’s important to understand why you might need to program or reprogram your remote starter. Modern car remote starters, both factory-installed and aftermarket, rely on a sophisticated communication system between the remote fob and the vehicle’s computer. This system ensures that only your remote can start your car, acting as a security measure.
Why Reprogram Your Remote Starter?
Several situations might necessitate reprogramming your remote starter:
- Battery Replacement in Remote Fob: Changing the battery in your remote fob can sometimes cause it to lose its programming, requiring a reset.
- Vehicle Battery Disconnection: If your car battery has been disconnected or replaced, the remote starter system might need to be resynchronized with your remote.
- New Remote Fob: If you’ve purchased a new or replacement remote fob, it will definitely need to be programmed to communicate with your car’s system.
- System Glitches: Occasionally, electrical glitches or interference can disrupt the communication, requiring a reprogramming to restore functionality.
Types of Remote Starters: Factory vs. Aftermarket
The programming process can slightly vary depending on whether you have a factory-installed remote starter or an aftermarket system.
- Factory-Installed Remote Starters: These are installed by the car manufacturer and are often integrated into the car’s main computer system. Programming these might sometimes require dealership involvement, especially for newer vehicles.
- Aftermarket Remote Starters: These are installed after you purchase the car and are generally more DIY-friendly when it comes to programming, although the specific procedures vary greatly depending on the brand and model of the system.
Before You Begin: Preparation and Safety
Attempting to program your remote starter requires a bit of preparation to ensure a smooth and safe process.
Check Your Owner’s Manual
The most crucial first step is to consult your vehicle’s owner’s manual or the manual for your aftermarket remote starter system. These manuals often contain specific instructions for programming your remote, tailored to your car’s make, model, and year, or the specific aftermarket system installed. Look for sections related to “remote start programming,” “key fob programming,” or “transmitter programming.” Websites like ProgramYourRemote.com can also be valuable resources for finding specific programming steps for various vehicles.
Gather Necessary Tools and Materials
Generally, programming a remote starter doesn’t require specialized tools. However, ensure you have the following:
- Your Remote Fobs: Have all the remote fobs you intend to program readily available.
- Your Car Keys: You’ll need your ignition keys to cycle the ignition.
- New Batteries (Optional): If you suspect a low battery in your remote is the issue, have a new battery of the correct type on hand.
- Vehicle Owner’s Manual or Aftermarket System Manual: Keep these handy for reference.
Safety Precautions
While programming a remote starter is generally safe, always observe basic safety precautions:
- Park in a Safe Location: Ensure your car is parked in a well-ventilated area, away from traffic, and on a level surface.
- Turn Off the Engine: Make sure the engine is completely off before starting the programming process unless the instructions specify otherwise.
- Avoid Distractions: Focus on the programming steps and avoid distractions to prevent errors.
- Be Mindful of Time Limits: Some programming procedures involve time-sensitive steps, so be prepared to act promptly when required.
Step-by-Step Guide to Program Your Remote Starter
While specific steps can vary, here are some general methods you can try to program your remote starter. Always prioritize the procedure outlined in your vehicle’s or remote starter system’s manual.
Method 1: Basic Remote Reset (Battery Removal)
This is the simplest method and often the first thing to try, especially after a battery change in the remote.
- Open the Remote Casing: Locate the battery compartment on your remote fob and carefully open it. You may need a small screwdriver for some models.
- Remove the Battery: Take out the battery from the remote.
- Wait for 15-30 Seconds: Let the remote sit without the battery for a short period. This allows any residual charge to dissipate and effectively resets the remote’s internal memory.
- Reinsert the Battery: Put the battery back into the remote, ensuring correct polarity (+ and -).
- Close the Remote Casing: Securely close the remote casing.
- Test the Remote: Try using your remote starter to see if it now works.
This method is quick and easy and can sometimes resolve minor glitches or synchronization issues.
Method 2: Using the Ignition Key and Lock Button (General Procedure)
This method is a more involved procedure that often works for many vehicles and aftermarket systems. Again, refer to your specific manual for the most accurate steps, but this general guide can be helpful if you can’t find specific instructions.
- Enter the Vehicle and Close All Doors: Sit in the driver’s seat and ensure all doors, hood, and trunk are properly closed.
- Insert the Ignition Key: Insert your key into the ignition switch.
- Cycle the Ignition to “Accessory” or “On”: Turn the key to the “Accessory” position (or press the start button once without pressing the brake pedal) and then back to the “Off” position in quick succession. The “Accessory” position is usually the first click when turning the key, allowing you to use the radio without starting the engine.
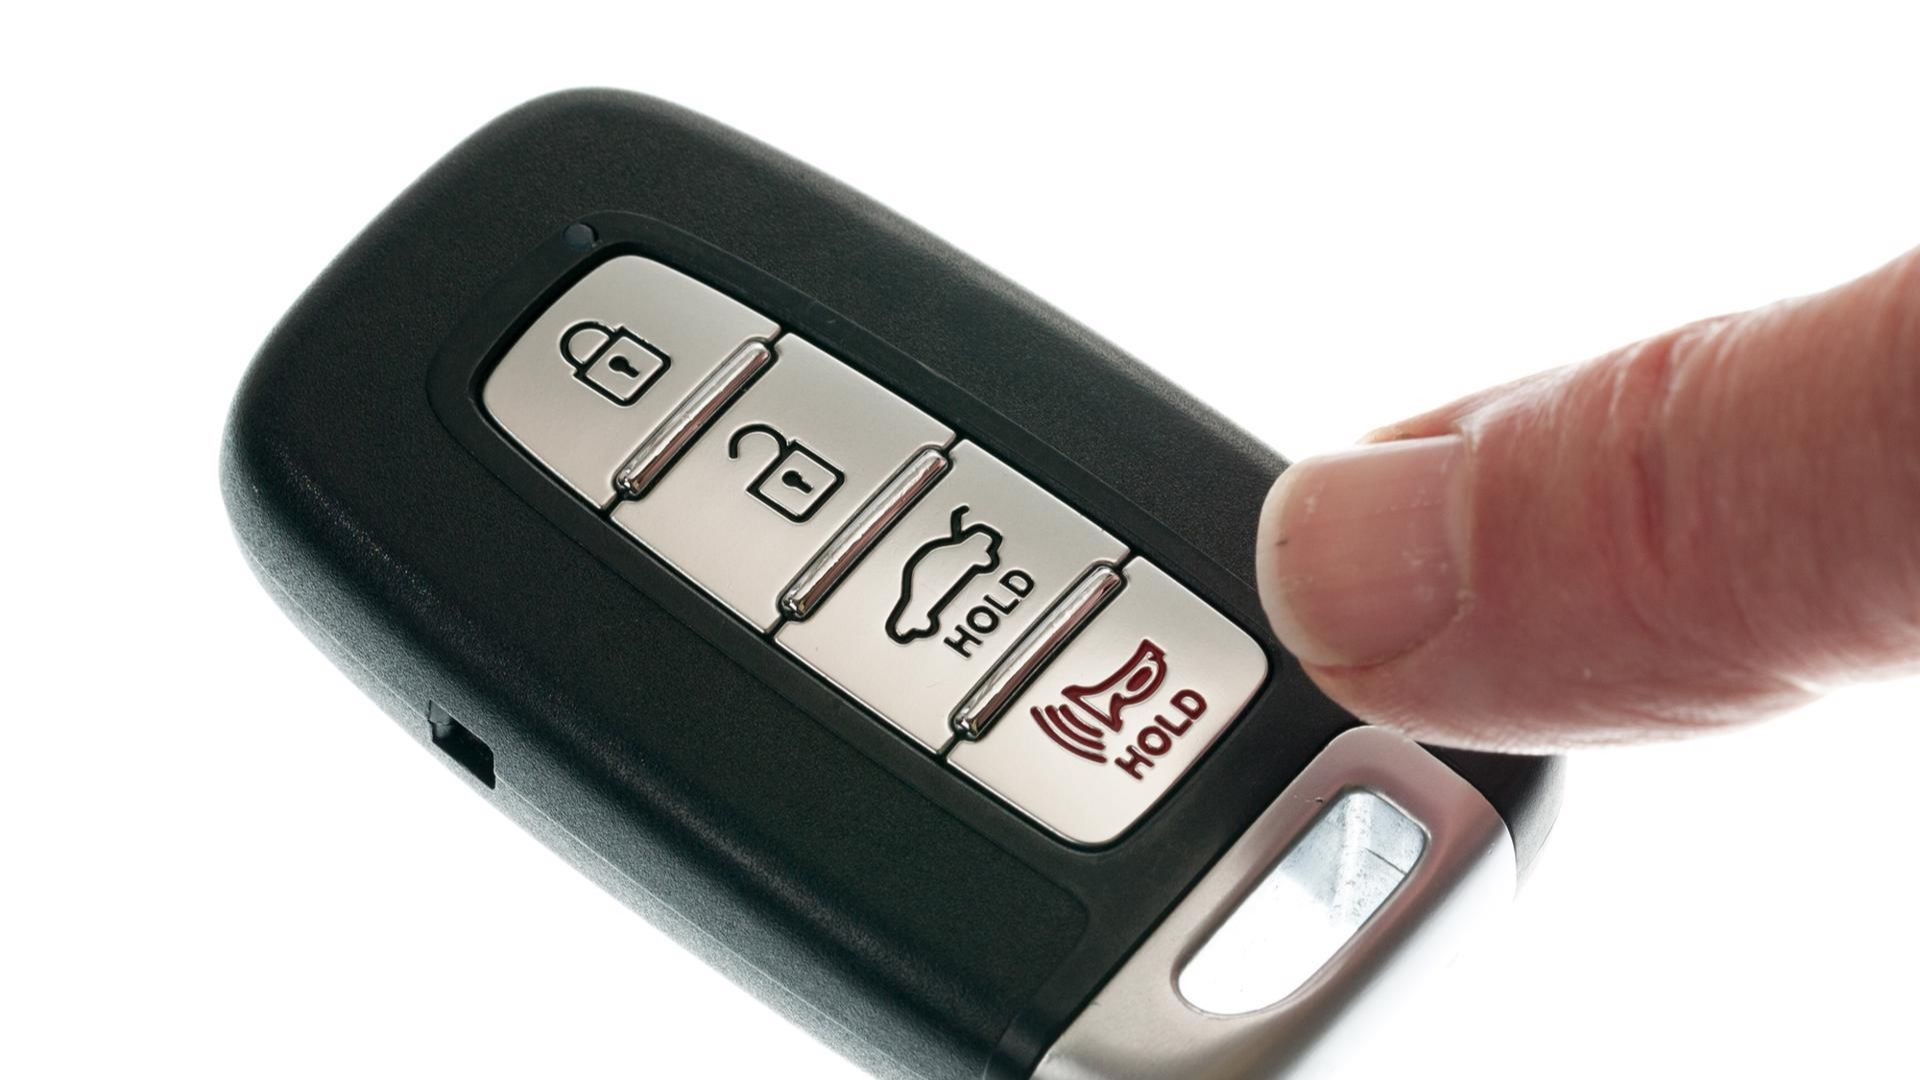
- Press the “Lock” Button: Press the “Lock” button on your remote fob.
- Repeat the On-Off Cycle: Repeat the ignition key cycling (Accessory/On to Off) and pressing the “Lock” button sequence multiple times (typically 3 to 4 times in total). The exact number of cycles might be specified in your manual.
- Listen for Confirmation: On the last cycle, when you turn the key to “Accessory” or “On,” listen for a sound like a chime, ding, or buzz from your car. This sound indicates that your car has entered programming mode.
- Press and Hold “Lock” on All Remotes: Immediately after hearing the confirmation sound, press and hold the “Lock” button on each remote fob you want to program. Do this for all remotes within a short time frame (usually within 10-20 seconds of entering programming mode).
- Turn Ignition Off and Test: Turn the ignition key to the “Off” position, remove the key, exit the vehicle, close the door, and test each remote fob to see if it now successfully operates the remote starter and lock/unlock functions.
Method 3: Programming Aftermarket Remote Starters (General Guidance)
Aftermarket remote starters often have a programming button or a valet/override switch that is used for programming. The location and procedure vary widely.
- Locate the Programming Button/Switch: Consult your aftermarket system’s manual to find the location of the programming button or valet switch. It’s often hidden under the dashboard, near the steering column, or in the fuse box area.
- Cycle the Ignition: Typically, you’ll need to cycle the ignition key to “On” and “Off” a specific number of times, similar to Method 2, to enter programming mode.
- Press the Programming Button/Switch: Once in programming mode (often indicated by parking lights flashing or a specific sound), press and release the programming button or toggle the valet switch as instructed in your manual.
- Press “Lock” on the Remote: Immediately after pressing the button/switch, press the “Lock” button on your remote fob.
- Test the Remote: Test the remote starter and lock/unlock functions.
Aftermarket systems are diverse, so always refer to the specific manual for your brand and model for accurate programming steps.
Troubleshooting and Tips
If you encounter problems during the programming process, consider these troubleshooting tips:
Common Issues and Solutions
- Remote Not Responding:
- Check Remote Battery: Ensure the battery is new and correctly installed.
- Range Issues: Obstructions or interference can reduce remote range. Try testing closer to the vehicle.
- Incorrect Procedure: Double-check you are following the correct programming steps for your specific car or aftermarket system.
- Car Not Entering Programming Mode:
- Timing: Programming modes often have strict timing requirements. Ensure you are performing steps within the specified timeframes.
- Door/Hood/Trunk Sensors: Make sure all doors, hood, and trunk are fully closed, as open sensors can prevent programming mode entry.
- Ignition Switch Issues: If your ignition switch is faulty, it may not properly register the key cycles.
- Still Not Working After Programming:
- System Malfunction: There might be an underlying issue with the remote starter system itself, requiring professional diagnosis.
- Remote Fob Damage: The remote fob itself could be damaged or malfunctioning. Try programming a different fob if available.
Tips for Successful Programming
- Read the Manual Carefully: Thoroughly understand the instructions before starting.
- Work Methodically: Follow each step precisely and in the correct order.
- Be Patient: Programming can sometimes take a few attempts. Don’t get discouraged if it doesn’t work on the first try.
- Test Each Remote: If programming multiple remotes, test each one individually after programming to confirm success.
Conclusion
Programming a remote starter on your car can often be accomplished at home with a bit of patience and the right instructions. By understanding the type of remote starter you have, consulting your manuals, and following the step-by-step guides, you can often restore the convenience of your remote starter without a trip to the dealership. However, if you encounter persistent issues or are uncomfortable with the process, seeking assistance from a professional mechanic or car audio specialist is always a wise decision. Enjoy the comfort and convenience of your remote starter, and remember that carcodereader.store is here to provide expert guidance for all your automotive needs.