So, you’re looking to reprogram your auto start car remote? Whether your current remote is acting up, you’ve replaced the battery, or you’ve got a new remote altogether, getting it synced with your car’s system is crucial for convenience and functionality. While newer vehicles often require a trip to the dealership for such tasks, many older models and aftermarket systems allow for DIY programming right in your driveway.
The Drive’s experts in automotive DIY are here to guide you through the general process of How To Program An Auto Start Car Remote, helping you regain control of your vehicle’s remote start feature.
Automakers, unfortunately, haven’t adopted a universal method for remote key fob programming. This means the exact steps can vary significantly from one make and model to another. Therefore, your first and most important step is to consult your vehicle’s owner’s manual. This document should contain specific instructions for programming your remote. If you can’t locate your manual, websites like ProgramYourRemote.com can be invaluable resources, often listing programming procedures by car make, model, and year. The programming process typically involves a sequence of actions, such as turning the ignition key to the accessory position and pressing buttons in a specific order.
If you’ve checked your manual and online resources but are still facing difficulties or confusion, don’t worry. We’ve compiled a set of general troubleshooting steps and reprogramming tips that apply to many auto start systems. These steps are designed to be a starting point, and it’s important to adapt them based on any specific instructions you might find for your car or aftermarket remote start system.
Understanding Auto Start Remote Programming
Before diving into the programming process, it’s helpful to understand why your remote might need reprogramming in the first place. Common reasons include:
- Battery Replacement: Sometimes, after replacing the battery in your remote, it may lose its synchronization with the car.
- New Remote: If you’ve purchased a replacement remote, it will definitely need to be programmed to communicate with your car’s receiver.
- System Glitches: Occasionally, electronic systems can experience glitches, causing the remote and car to lose sync. Reprogramming can often resolve these issues.
It’s also important to distinguish between Original Equipment Manufacturer (OEM) remotes, which come with the car, and aftermarket remotes, which are installed separately. Programming methods can differ between these types, and aftermarket systems often have their own specific procedures.
Preparation and Safety
Working with your car’s electronics requires basic safety precautions. While programming a remote is generally safe, keeping these points in mind is always a good practice.
Gather Necessary Tools
For most remote programming procedures, you likely won’t need any specialized tools. The process primarily involves using your car’s ignition system and the remote itself. However, it’s a good idea to have:
- Your Car Keys: You’ll need your ignition key to turn the car to the accessory and on positions.
- All Remotes: If you have multiple remotes, gather them all as you might need to program them simultaneously.
- Owner’s Manual or Online Instructions: Keep your car’s manual or online instructions readily accessible.
Safety Precautions
- Park in a Safe Location: Ensure your car is parked on a level surface, in a well-ventilated area, away from traffic.
- Turn Off the Engine: Make sure the engine is completely off before starting the programming process unless instructions specify otherwise.
- Avoid Distractions: Focus on the programming steps to avoid errors.
Step-by-Step Guide to Program Your Auto Start Car Remote
Here are some general methods to try when programming your auto start car remote. Remember to always prioritize the specific instructions for your vehicle.
Method 1: Battery Reset (Simple First Step)
Sometimes, a simple battery reset can resolve minor synchronization issues.
- Open the Remote Casing: Carefully open the casing of your remote to access the battery.
- Remove the Battery: Take out the battery from the remote.
- Wait 15 Seconds: Let the remote sit without the battery for about 15 seconds. This allows any residual charge to dissipate.
- Reinstall the Battery: Put the battery back into the remote and close the casing securely.
- Test the Remote: Try using your remote to start your car. If it works, you’re all set! If not, proceed to the next methods.
Method 2: Checking and Replacing the Battery (Rule Out Battery Issues)
A weak or dead battery is a common culprit for remote malfunction.
- Test with a Known Good Remote (If Available): If you have a spare remote that works, try swapping the batteries between the remotes.
- Battery Swap: Place the working remote’s battery into the remote you are trying to program.
- Check Functionality: Test if the remote now works.
- Replace Battery if Necessary: If the swap works, it means you simply need a new battery for your original remote. Purchase a new battery of the correct type for your remote.
Method 3: Reprogramming Procedure (General Steps – Adapt to Your Car)
This method outlines a general reprogramming procedure that is common across many vehicles. Crucially, you must replace these general steps with the specific procedure from your owner’s manual or ProgramYourRemote.com for your car make and model.
- Gather All Remotes: Have all the remotes you wish to program with you inside the car.
- Enter the Vehicle and Close Driver’s Door: Sit in the driver’s seat and ensure the driver’s side door is closed.
- Insert and Turn Ignition Key to Accessory: Insert your ignition key into the ignition switch and turn it to the “Accessory” position (or press the start button once without pressing the brake pedal). This is the position that allows you to use the radio without starting the engine.
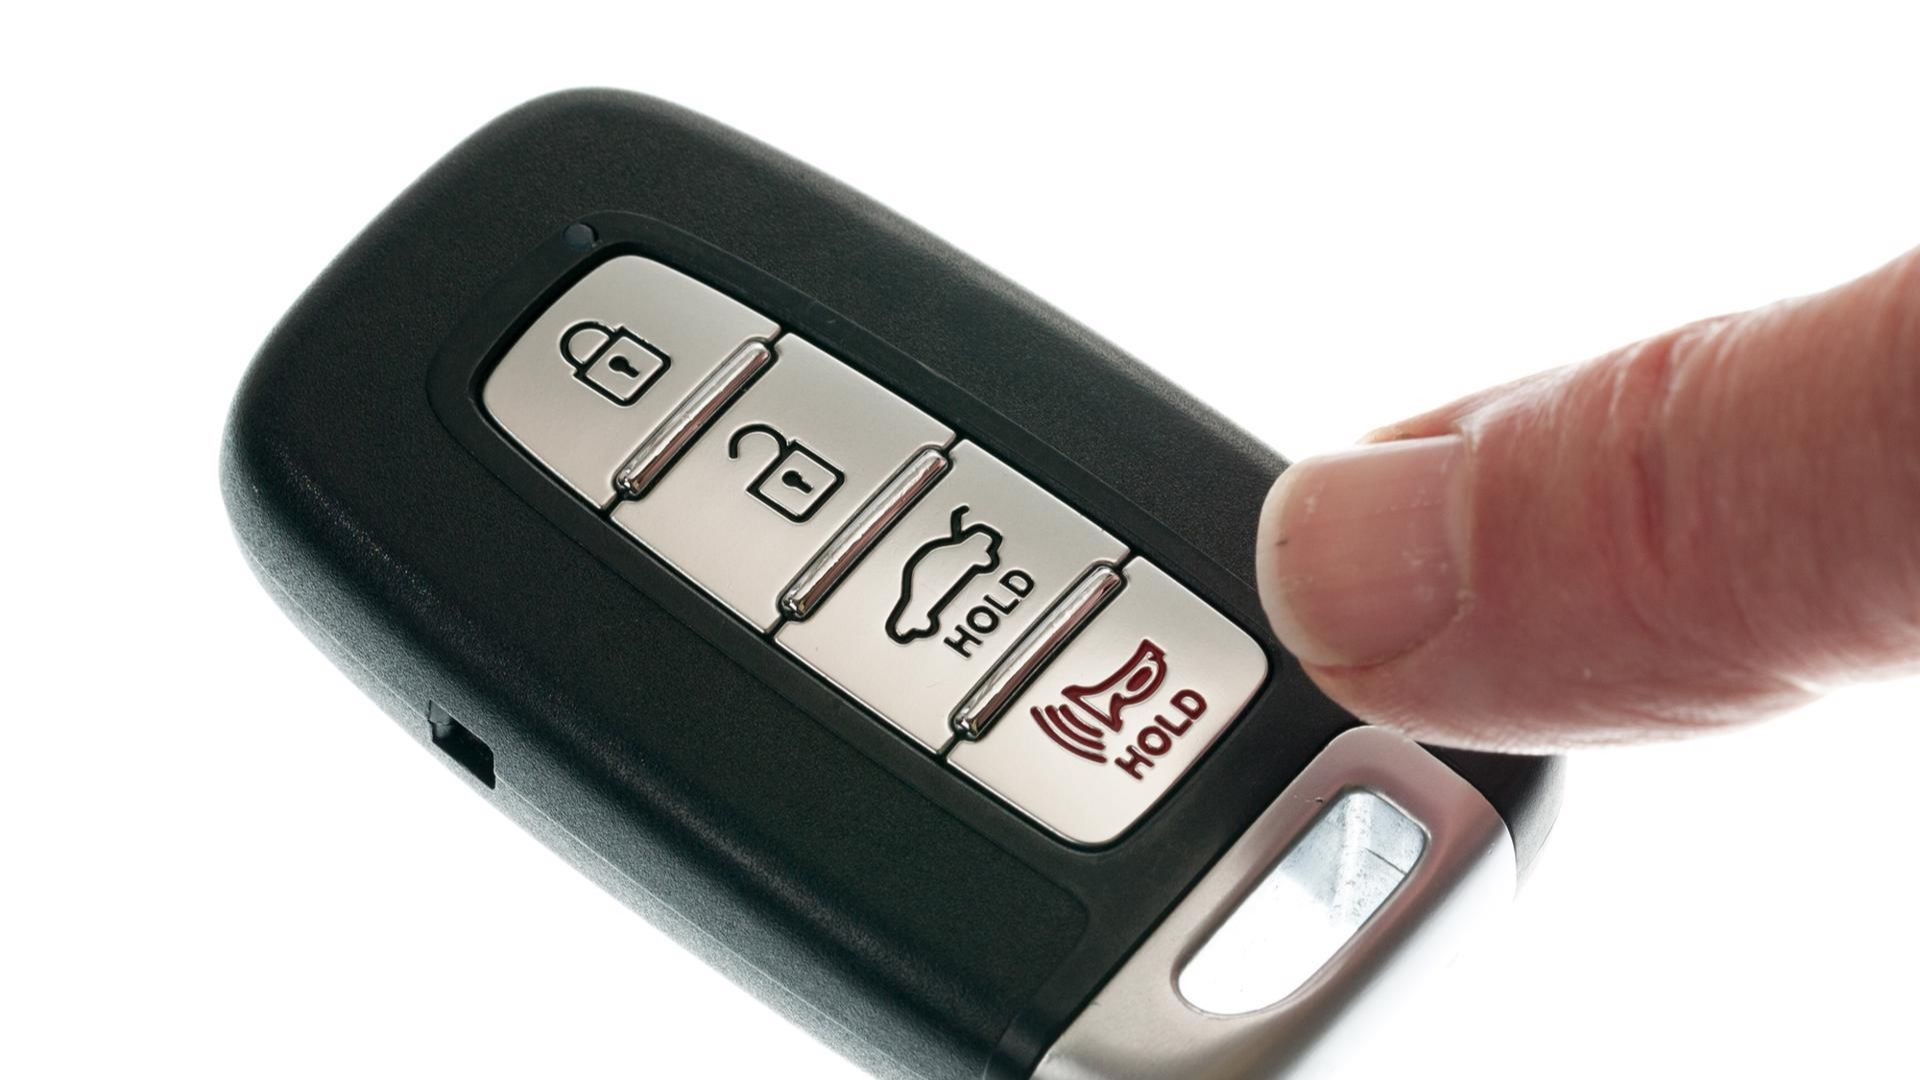
- Press Lock Button (General Step): Press the “Lock” button on one of your remote car starters.
- Cycle Ignition On and Off (Repeat Multiple Times): Within five seconds of turning the key to Accessory, turn the key back to the “Off” position (or press the start button again). Repeat this “On-Off” cycle (Accessory to Off) rapidly three more times, for a total of four cycles.
- Listen for Confirmation (Programming Mode): On the fourth cycle, when you turn the key to the Accessory position, you should hear a chime, a ding, or a buzzing sound. This sound indicates that your car has entered programming mode. (Note: The confirmation sound varies by car make and model. Some cars might flash lights instead of making a sound).
- Press and Hold Lock Button (Program Remotes): Immediately press and hold the “Lock” button on each remote you want to program, one after another. For some systems, you may need to press another button in conjunction with the lock button. Refer to your specific instructions.
- Turn Ignition Off (Exit Programming Mode): After programming all remotes, turn the ignition key to the “Off” position or press the start button again to exit programming mode.
- Test Remotes: Step out of the car, close the door, and test each remote to ensure they are now working correctly.
- Troubleshooting: If the remotes still don’t work, double-check each step against your car’s specific instructions. If issues persist, it may be time to seek professional help.
Tips for Successful Programming
- Consult Your Owner’s Manual: We can’t stress this enough. Your owner’s manual is the definitive guide for your car’s specific programming procedure.
- Utilize Online Resources: Websites like ProgramYourRemote.com and online forums dedicated to your car make and model can offer valuable insights and troubleshooting tips.
- Ensure Battery is Good: Start with a fresh battery in your remote to rule out battery issues as the cause of programming failure.
- Act Quickly: Many programming procedures require you to perform steps within a specific time frame (e.g., within 5 or 10 seconds). Be prepared to act promptly once you initiate the process.
When to Seek Professional Help
If you’ve diligently followed the programming steps and your remote still refuses to program, it might be time to consult a professional.
- Dealership: Your car dealership’s service department is equipped to handle remote programming, especially for newer vehicles with complex systems.
- Automotive Locksmiths: Specialized automotive locksmiths often have the tools and expertise to program car remotes and keys.
- Aftermarket System Installer: If you have an aftermarket remote start system, contacting the installer or manufacturer’s support can provide system-specific guidance.
- Car Repair Specialists: Reputable car repair shops specializing in electronics may also be able to assist.
Programming your auto start car remote can often be accomplished at home with a bit of patience and the right instructions. By following these steps and consulting your vehicle’s specific resources, you can likely regain the convenience of remote start functionality. If you encounter persistent issues, don’t hesitate to seek professional help to ensure your system is correctly programmed and functioning as intended.