Is your car remote starter acting up? Perhaps it’s stopped working altogether, or maybe the range seems significantly reduced. Before you rush to the dealership and spend money on a replacement or reprogramming service, you might be able to fix it yourself. For many older vehicles and some aftermarket systems, reprogramming your car starter remote is a straightforward process you can do at home. This guide from carcodereader.store, your trusted auto repair resource, will walk you through the general steps and offer helpful tips to get your remote working again.
Understanding Car Starter Remotes and Programming
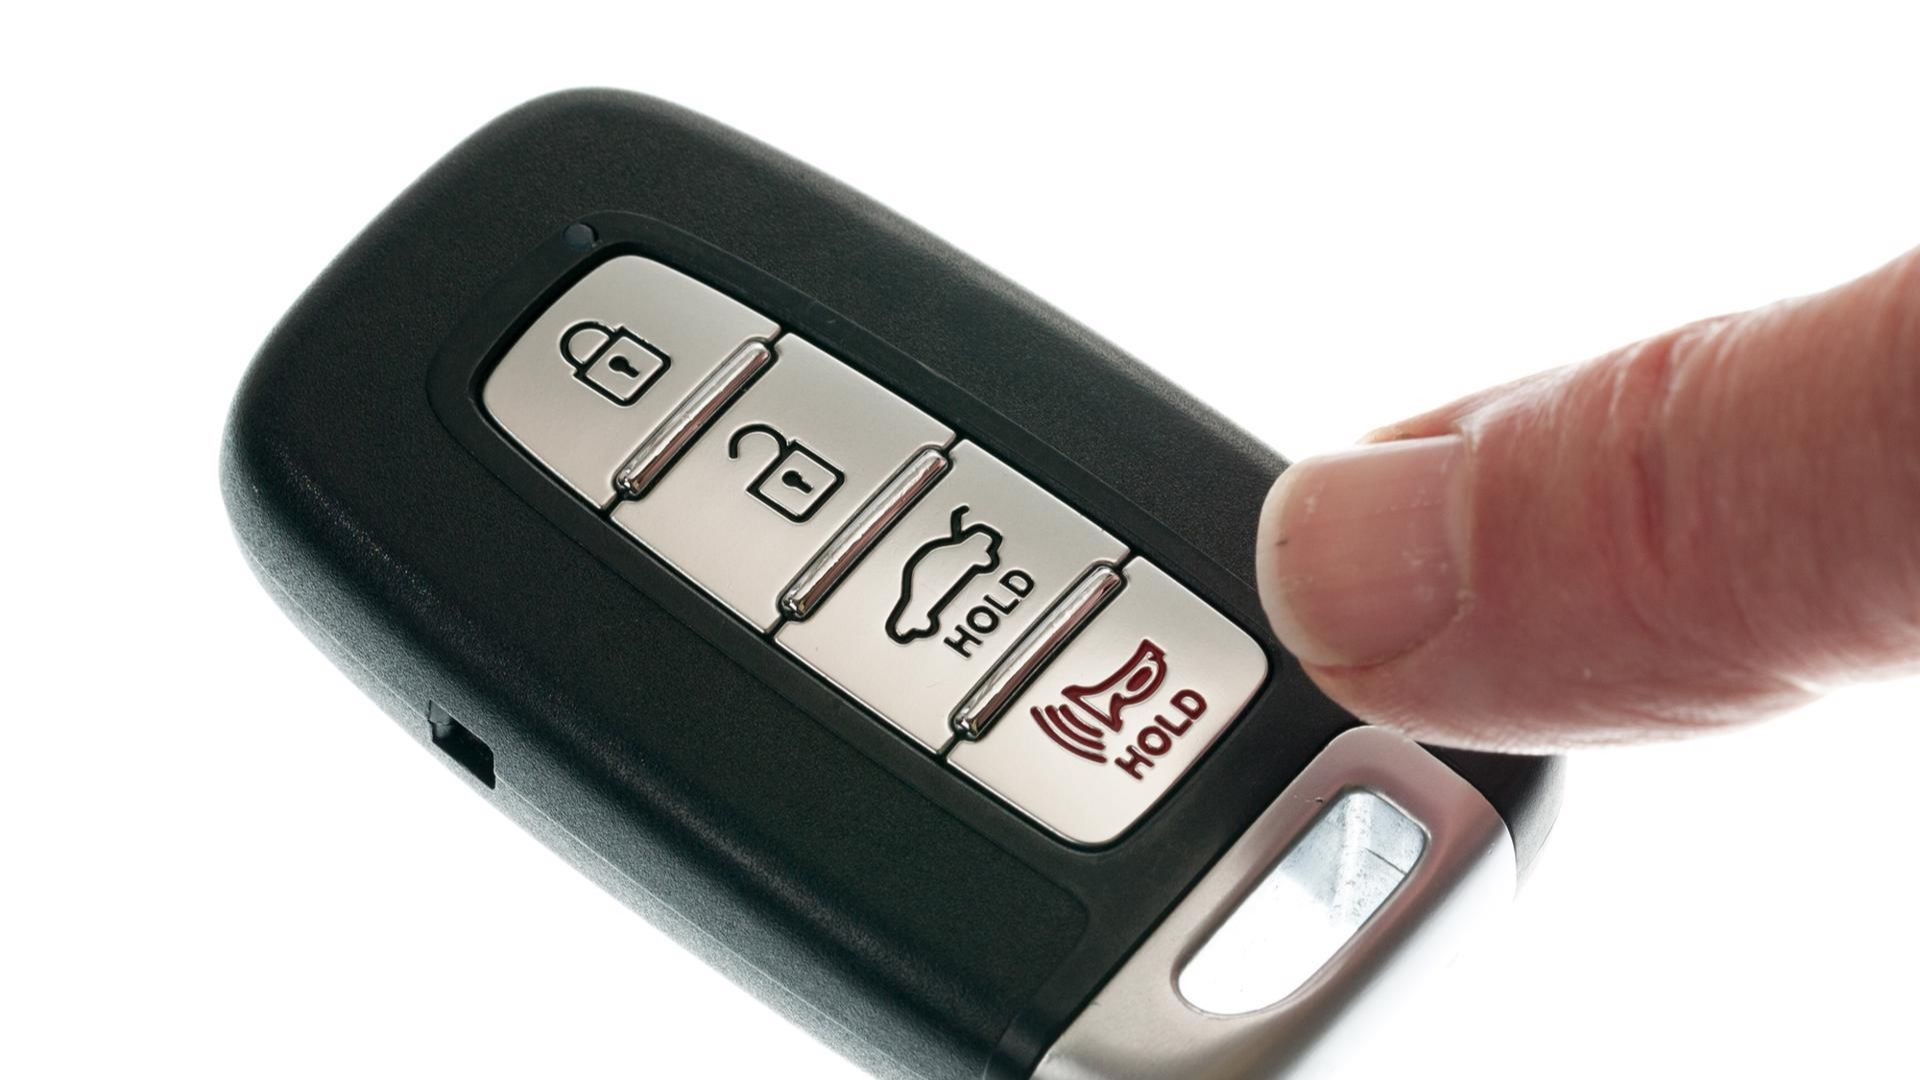
Car starter remotes, also known as key fobs, communicate wirelessly with your vehicle’s computer system to perform actions like locking/unlocking doors, activating the panic alarm, and, crucially, starting the engine remotely. These remotes use radio frequencies, and sometimes, they can lose synchronization with the car. This desynchronization can happen due to various reasons, such as battery replacement in the remote, electrical glitches, or even interference.
There are generally two types of car starter systems:
- Factory-installed (OEM) systems: These are installed by the car manufacturer and are often integrated into the vehicle’s main computer. Programming these remotes can sometimes be more complex and, for newer cars, might require specialized dealer equipment.
- Aftermarket systems: These are installed after you purchase the car and are usually simpler to program, often with procedures designed for DIY users.
Regardless of the system type, the basic principle of reprogramming involves putting your car into a “programming mode” and then instructing the system to recognize your remote’s unique signal.
Step-by-Step Guide to Reprogramming Your Remote
While specific procedures vary widely between car makes, models, and aftermarket system brands, here’s a general approach that often works. Always check your car’s owner’s manual or the documentation for your aftermarket remote starter for the most accurate instructions for your specific vehicle. Websites like ProgramYourRemote.com can also be helpful resources.
Preliminary Checks: Battery and Second Remote
Before diving into reprogramming, rule out the simplest issues:
-
Check the Remote Battery: This is the most common culprit. Open your remote (usually by sliding open a small compartment or using a small screwdriver to gently pry it apart) and check the battery. If you have a spare battery of the correct type, replace it.
-
Test with a Second Remote (if available): If you have a spare remote that is working, use it to test if the issue is with the remote itself or the car’s starter system. If the second remote works, then the problem is likely with the first remote, and reprogramming might solve it. You can even try swapping the batteries between the remotes to further diagnose if it’s just a battery issue.
General Reprogramming Steps
If a battery change doesn’t fix the problem, try these general reprogramming steps. Remember to consult your vehicle’s specific instructions for the most accurate method.
-
Gather Your Remotes: Have all the remotes you want to program for your car ready. You’ll usually program all of them at once during the procedure.
-
Get in the Driver’s Seat and Close the Door: Ensure you are inside the vehicle with the driver’s door closed. This is often a necessary step for the programming sequence to initiate correctly.
-
Locate Your Ignition: You’ll need to use your ignition key or the start button depending on your car model.
-
Enter Accessory Mode: Insert your key into the ignition. Turn the key to the “Accessory” position. This is usually one click forward from the “Off” position. In cars with start buttons, press the start button once without pressing the brake pedal. This will typically put the car in accessory mode, allowing electrical components like the radio to function without starting the engine.
-
Initiate the Programming Sequence: This is where the procedure becomes less standardized and more car-specific. The original article suggests a general method:
- Turn the ignition key to the Accessory position and then back to the “Off” position repeatedly. The suggestion is to repeat this “on-off” cycle four times in total, ending in the “Accessory” position on the fourth cycle.
- Important: Pay close attention for any indication that you’ve entered programming mode. Many cars will signal this with a chime, a “ding,” a buzz, or the flashing of a light on the dashboard. This auditory or visual cue is crucial to know you are in the correct mode for programming.
-
Program the Remotes: Once you believe you are in programming mode (after hearing the chime or seeing the indicator), immediately press the “Lock” or “Start” button on one of your remotes and hold it down for a few seconds. The car may give another chime or visual signal to confirm it has received the signal from the remote. Repeat this for each remote you want to program.
-
Exit Programming Mode: After programming all remotes, turn the ignition key to the “Off” position or press the start button again to exit programming mode. In some cars, simply opening the driver’s side door might also exit the programming mode.
-
Test Your Remotes: Step out of the car, close the door, and test each remote to ensure they are now working correctly. Try locking and unlocking the doors and, most importantly, test the remote start function.
When to Consult a Professional
If you’ve tried these steps and your remote still isn’t working, or if you are unsure about any part of the process, it’s best to consult a professional. Newer cars, especially those with advanced security systems, often require dealer-specific diagnostic tools and programming equipment. Trying to force a reprogramming process without the correct procedure could potentially cause issues with your car’s electronics.
- Dealership: Your car dealership’s service department is the most reliable place to get your remote professionally programmed, especially for OEM systems on newer vehicles.
- Certified Mechanic: Many independent auto repair shops and mechanics are also equipped to handle remote programming, particularly for aftermarket systems.
- Automotive Locksmith: Automotive locksmiths specialize in car keys and remotes and often offer programming services at competitive prices.
Pro Tips for Remote Starter Maintenance
-
Battery Care: Remote batteries do drain over time. Replace them proactively every couple of years, or when you notice the remote range decreasing. Use quality batteries of the correct type recommended for your remote.
-
Extend Your Range (Life Hack): If you’re in a situation where your remote range seems weak, try holding the remote under your chin. Your body can act as an antenna, sometimes surprisingly increasing the signal range. While it might look a little unusual, it’s a trick that has been known to work in a pinch!
Reprogramming your car starter remote can often be a simple DIY task, potentially saving you time and money. By following these steps and consulting your vehicle-specific instructions, you can troubleshoot common remote issues and get back to enjoying the convenience of your remote car starter. If in doubt, don’t hesitate to seek professional help from a qualified mechanic or your car dealership.