Getting started with robotics can be an exciting journey, and the Elegoo Robot Car Kit v4 is an excellent entry point for hobbyists and aspiring engineers alike. This smart robot car kit provides a hands-on experience in building and programming your own intelligent vehicle. If you’re wondering how to bring this kit to life through code, you’ve come to the right place. This guide will walk you through the basics of programming your Elegoo Robot Car V4, making it move, respond to its environment, and even follow your commands.
The Elegoo Robot Car Kit V4 is designed to be easily programmable for beginners to learn robotics and Arduino coding.
The Elegoo Car Kit v4 is more than just a toy; it’s a comprehensive learning platform. It includes various modules such as obstacle avoidance sensors, line tracking capabilities, and even remote control functionality. To program this robot car, you’ll primarily be using the Arduino IDE (Integrated Development Environment). This open-source software allows you to write code in C++ and upload it to the Arduino UNO R3 board, the brain of your robot car.
Exploded view of the Elegoo Smart Robot Car V4 kit components highlighting the modular design for easy programming and customization.
To begin programming, you’ll need to connect your Arduino UNO board to your computer via USB. Ensure you have the Arduino IDE installed and the correct board and port selected. The basic structure of an Arduino program involves two key functions: setup() and loop(). The setup() function runs once at the beginning to initialize settings, like defining pin modes for motors and sensors. The loop() function, as the name suggests, runs continuously, executing your main program logic.
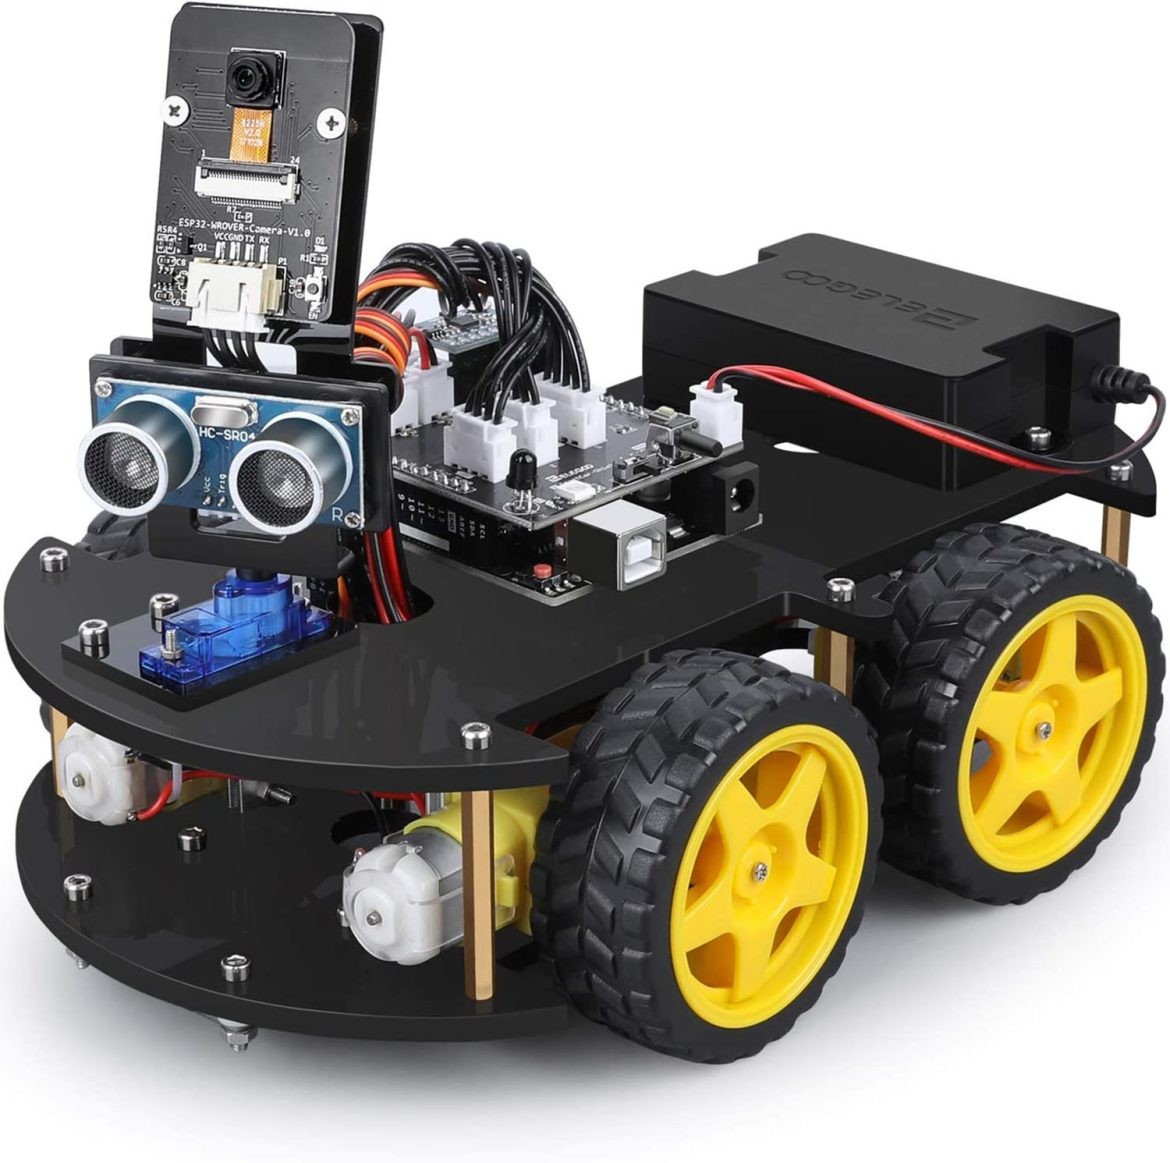
Close-up of the assembled Elegoo Robot Car V4 chassis, showing the motor connections and sensor placements critical for programming movement and behaviors.
Controlling the car’s movement is fundamental. The Elegoo kit uses a motor driver shield to control the DC motors. You’ll need to define which Arduino pins are connected to the motor driver and then use functions to control motor speed and direction. For example, you can write code to make the car move forward by powering both motors in the forward direction, or turn by driving the motors at different speeds or in opposite directions.
Detailed view of the Elegoo Robot Car V4 motor driver shield and Arduino Uno, essential for understanding the hardware interface for programming motor controls.
Beyond basic movement, the Elegoo Robot Car V4 comes with sensors that allow for more complex interactions with its environment. The obstacle avoidance sensor, for instance, uses ultrasonic waves to detect objects in front of the car. You can program the car to react to these detections, such as stopping or turning away from obstacles. Similarly, the line tracking sensor enables the car to follow a designated path marked by a line. Programming these sensors involves reading sensor values and then writing code to trigger specific actions based on those readings.
The complete Elegoo Smart Robot Car V4 kit showcasing all components ready for assembly and programming, emphasizing its potential for various robotic projects.
Programming the Elegoo Robot Car V4 is a fantastic way to learn about robotics, electronics, and coding. With the Arduino IDE and the provided example code and libraries from Elegoo, you have a wealth of resources to get started. Experiment with different programs, explore the capabilities of each sensor and module, and you’ll soon have your robot car performing a variety of tasks. The journey of programming this kit is not just about the destination, but the learning and fun you have along the way.