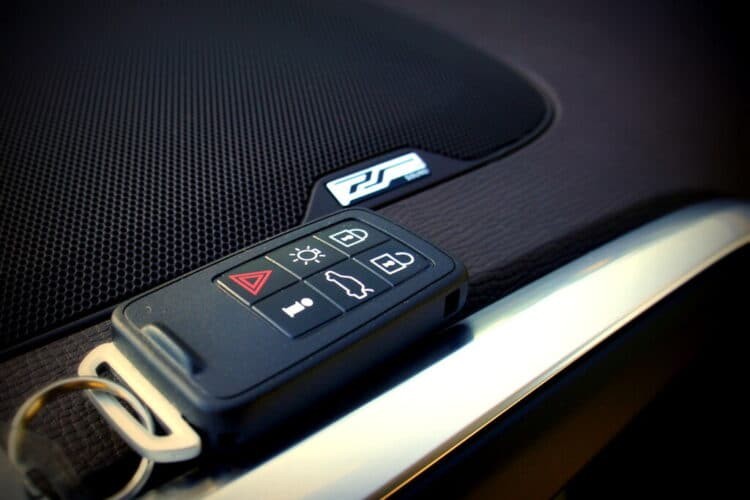
Car remotes, or key fobs, are incredibly convenient devices that allow you to lock, unlock, and sometimes even start your car from a distance. Over time, or when replacing a lost or damaged unit, you might find yourself needing to program a new car remote. Luckily, in many cases, programming a replacement car remote can be done at home without the need for a professional locksmith or dealership. This guide will walk you through a general method to program your replacement car remote, making sure you can regain control and convenience quickly.
Before you begin, it’s crucial to understand that the exact steps for programming a car remote can vary significantly depending on the make, model, and year of your vehicle. Always consult your vehicle’s owner’s manual for the most accurate and specific instructions for your car. This guide offers a general approach that works for many vehicles, but your manual is the definitive source.
STEP 1: Get Prepared Inside Your Vehicle
Begin by sitting in the driver’s seat of your car. Ensure all doors are completely closed. Have your ignition key and the replacement car remote readily available. This process typically requires you to be inside the vehicle to interact with the car’s system directly.
STEP 2: Turn the Ignition to the ‘ON’ Position
Insert your ignition key into the ignition switch. Turn the key to the ‘ON’ position. This is the position right before you would crank the engine to start the car. You should see the dashboard lights illuminate. It’s important not to start the engine at this stage; simply turn the ignition to the point where the electrical systems are active.
STEP 3: Press the ‘Lock’ Button on the Remote
Take your replacement car remote and aim it towards the dashboard, specifically in the area of the rearview mirror. This is often where the car’s receiver for the remote signals is located. Press and hold the ‘lock’ button on the remote for a few seconds. In some car models, you may need to press another button or a combination of buttons, so again, refer to your user manual if this method doesn’t seem to work.
STEP 4: Turn the Ignition ‘OFF’ and Repeat for Additional Remotes
After pressing the ‘lock’ button, quickly turn the ignition key back to the ‘OFF’ position and remove the key from the ignition. Timing can be important in this process, so try to perform these steps relatively swiftly. If you have multiple replacement car remotes to program, repeat steps 2 and 3 immediately for each additional remote. Many car systems will erase previously programmed remotes when a new one is programmed, so it’s essential to program all remotes you intend to use in one session.
STEP 5: Test the Newly Programmed Remote(s)
To finalize the process, re-insert the ignition key and turn it to the ‘ON’ position again, without starting the engine. Press the ‘lock’ button on each of your newly programmed remotes. If the programming was successful, you should hear the car locks engage and disengage, or see the lights flash, indicating that the remote is now communicating with your car’s security system. Test all the buttons on each remote to ensure full functionality.
In conclusion, programming a replacement car remote can often be a straightforward process you can do yourself. However, remember that these steps are a general guide. Always prioritize consulting your vehicle’s owner’s manual for the most accurate programming instructions tailored to your specific car model. By following the correct procedure, you can quickly restore the convenience of remote access to your vehicle.

