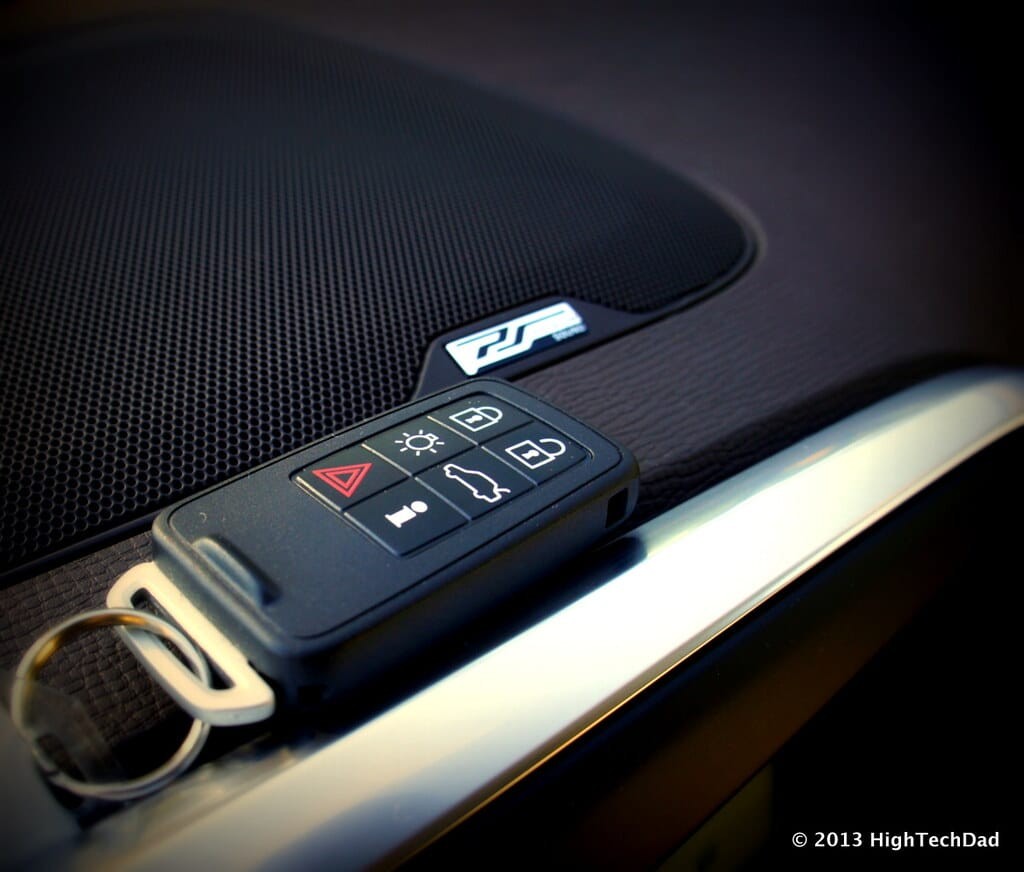
Car key fobs, also known as car remotes or keyless entry transmitters, are indispensable for modern vehicle owners. They provide convenient control over your car’s doors, alarm system, trunk, and even ignition from a distance. Like any electronic device, car remotes can sometimes lose their programming or malfunction. When this occurs, the good news is that you can often reprogram your car remote yourself, saving time and money on dealership or locksmith fees. This guide will walk you through the general steps on how to program a car remote, empowering you to restore your keyless entry functionality.
It’s crucial to understand that while the following steps provide a general overview, specific procedures can vary significantly depending on your car’s make, model, and year. Always consult your vehicle’s owner’s manual for the most accurate and model-specific instructions on how to program your car key fob. You can usually find this manual in your glove compartment or search for a digital version online using your car’s details.
Here are the common steps involved in car remote programming:
Step 1: Turn the Ignition to the ‘On’ Position
Begin by sitting in the driver’s seat of your car, ensuring all doors are completely closed. Have your ignition key and the car remote you wish to program readily available. Insert your car key into the ignition. Turn the key to the ‘On’ position. This position is usually just before the point where you would crank the engine to start. You should see the dashboard lights illuminate, indicating that the electrical system is active, but the engine should not be running.
Step 2: Press the ‘Lock’ Button on the Remote
Take the car remote you are programming and aim it towards the car’s receiver. The receiver’s location can differ depending on the vehicle, but it is often located in the front of the car, near the rearview mirror, or on the dashboard. Press and hold the ‘Lock’ button on the car remote for a few seconds. Some vehicles may require you to press and hold other buttons, or a combination of buttons, so again, refer to your owner’s manual for specifics.
Step 3: Turn the Ignition Off
Quickly turn the ignition key back to the ‘Off’ position. It’s important to perform this step promptly after pressing the ‘Lock’ button. The timing is often crucial in the programming sequence. Removing the key from the ignition entirely might also be required for some models. This action signals the car’s computer to enter or exit programming mode.
Step 4: Repeat the Process for Additional Remotes
If you have multiple car remotes to program, immediately repeat steps 2 and 3 for each additional remote. Many car systems are designed to clear the memory of previously programmed remotes when a new one is programmed. Therefore, it’s essential to program all your remotes in one programming session to ensure they all function correctly. Perform these steps in quick succession without significant delays between remotes.
Step 5: Test the Remote Programming
After programming all your desired remotes, cycle the ignition to the ‘On’ position again, and then back to ‘Off’. Remove the key from the ignition. Now, test each remote by pressing the ‘Lock’ or ‘Unlock’ buttons. If the programming was successful, you should hear the car locks engage or disengage, or see the lights flash, confirming that the remote is now correctly programmed to your vehicle. If a remote does not respond, you may need to repeat the entire programming process, ensuring you follow each step precisely and promptly.
Important Considerations for Car Remote Programming:
- Consult Your Owner’s Manual: As emphasized earlier, your car’s owner’s manual is the definitive guide for programming your specific car remote. Always prioritize the instructions in your manual.
- Programming Mode Limitations: Some vehicles may have a limited time window to complete the programming sequence. If you are too slow between steps, the car might exit programming mode, and you’ll need to start over.
- Dealer Programming: If you encounter difficulties or your car model requires specialized tools or procedures, you may need to visit a dealership or a qualified automotive locksmith for professional car remote programming services. Certain high-security vehicles may only be programmable with specialized diagnostic equipment.
- Battery Check: Before attempting to reprogram your car remote, ensure that the battery inside the remote is not depleted. A weak battery can sometimes be the cause of remote malfunction.
- Aftermarket Remotes: If you are using an aftermarket or replacement car remote, verify its compatibility with your vehicle and follow the programming instructions provided with the new remote, as they may differ from the original equipment manufacturer (OEM) procedures.
In Conclusion:
Programming your car remote can often be a straightforward DIY task, saving you the inconvenience and expense of professional services. By following these general steps and, most importantly, consulting your vehicle’s owner’s manual for specific instructions, you can likely reprogram your car remote and regain the convenience of keyless entry. However, remember that car models vary widely, and in some cases, professional assistance may be necessary for successful car remote programming.